Way too much salt
Series
Fresh Pasta
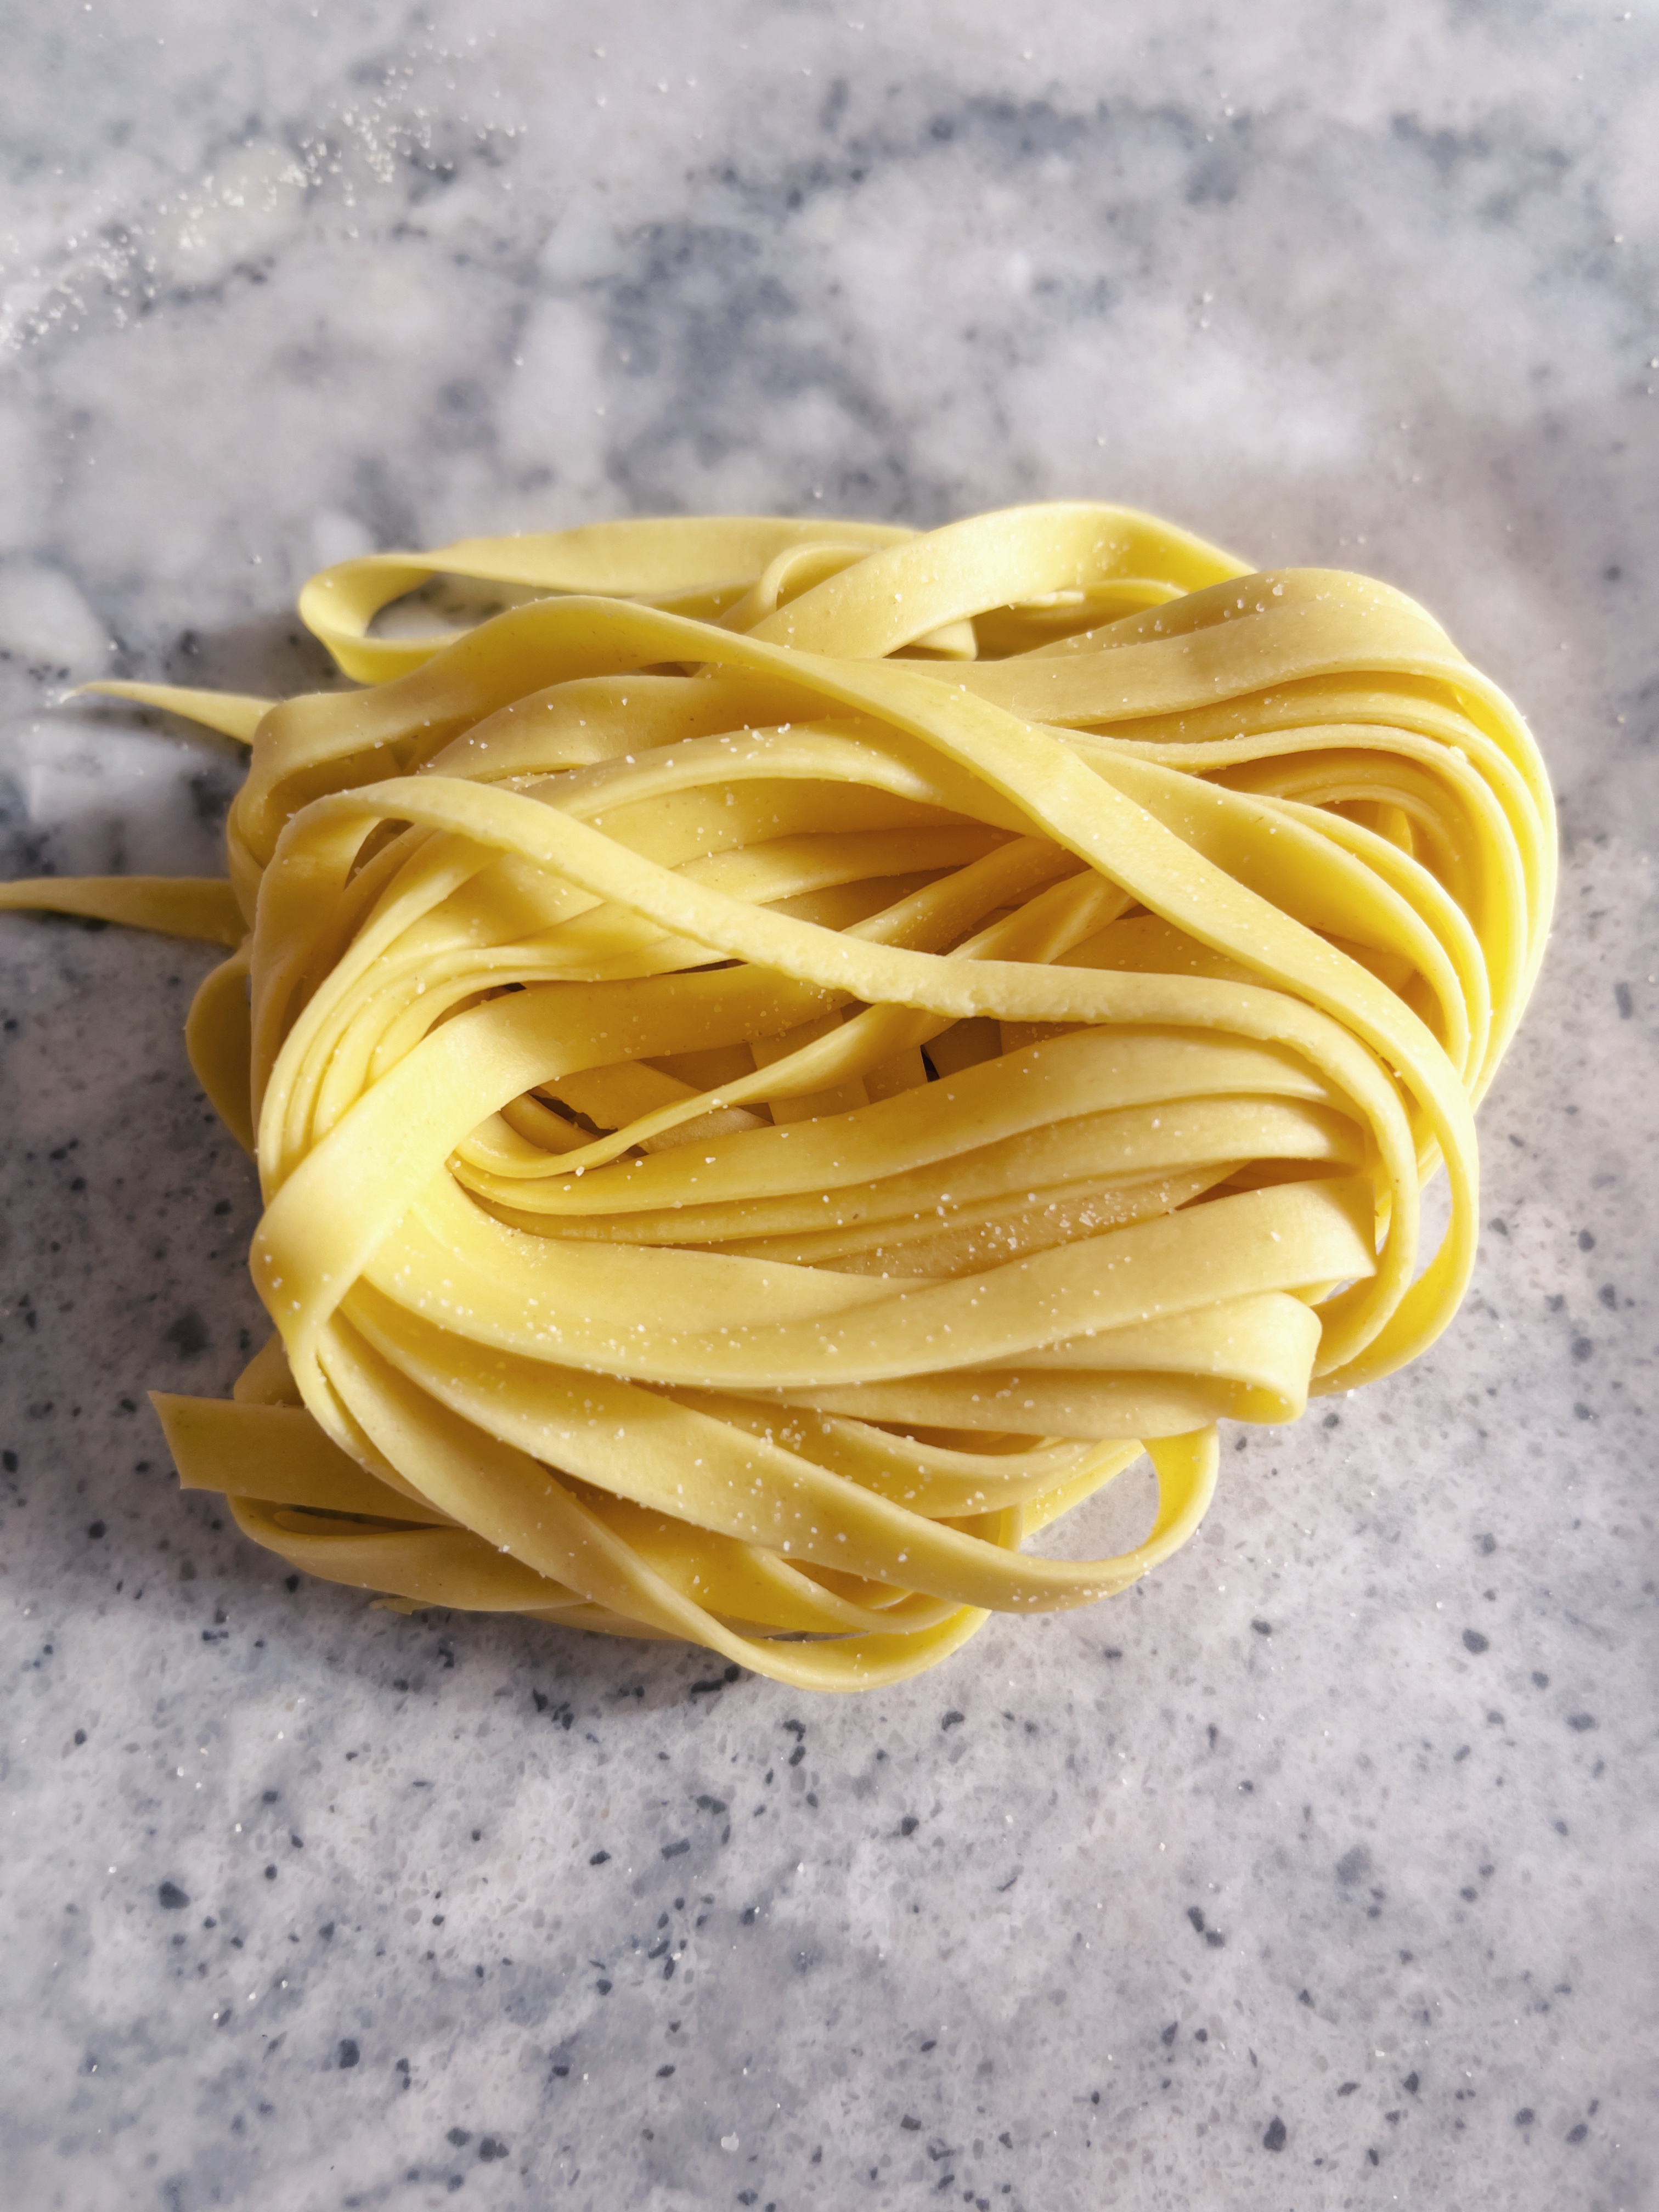
Let’s be real: making pasta from scratch seems daunting. I promise, once you’ve done a few times, it’s fun and quite quick. The chewy, soft texture of the resulting noodles is far superior when compared to the boxed, mass-produced equivalent and it cooks up in a snap.
This recipe can be halved, but since we are already putting the work in, I find it’s worth making a bigger batch and freezing the rolled/shaped pasta for later dishes. Your future self will thank you.
ingredients
- 200 grams (1 2/3 cups) Tipo “00” flour (I use Cento Anna Napoletana)
- 2 teaspoons kosher salt (Diamond Crystal)
- 2 eggs + 2 egg yolks (~135 grams total)
- 2 teaspoons olive oil
- semolina flour (optional)
method
dough
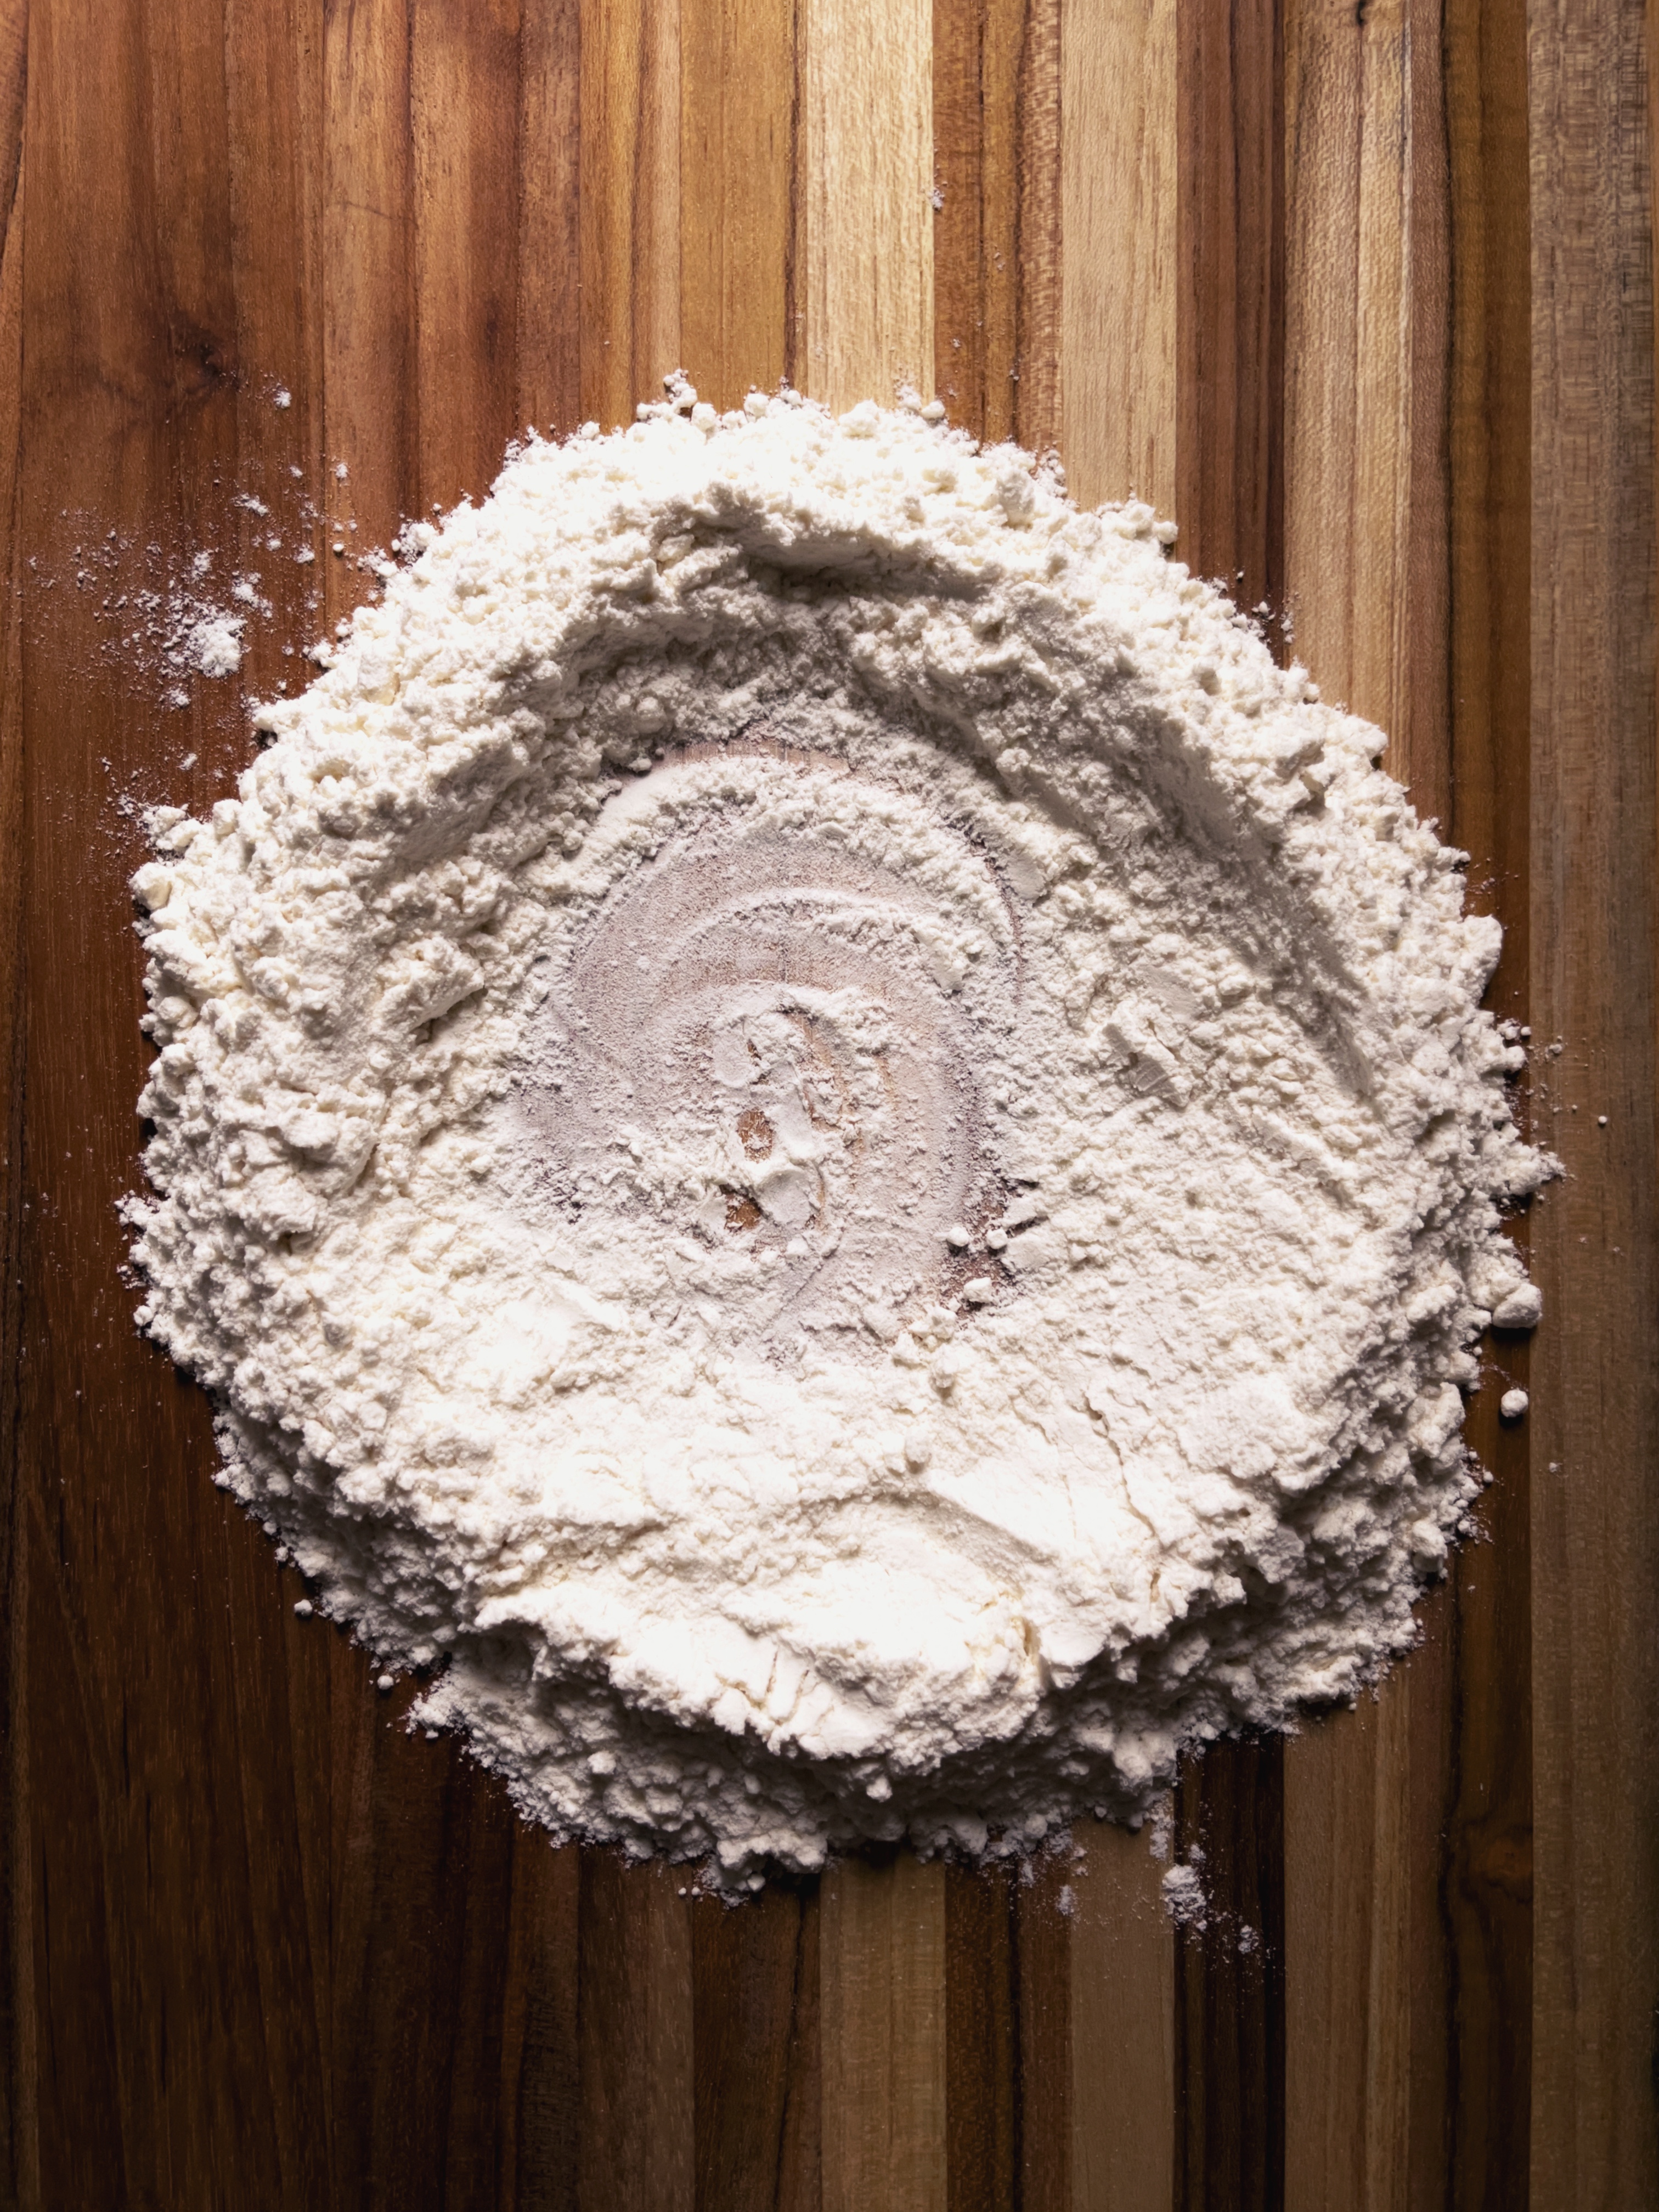
- On a clean work surface (I like to use a wooden cutting board), add the flour and salt in a pile. Using your fingers, create a well in the center like a volcano. It’s better to have a wider, more shallow well.
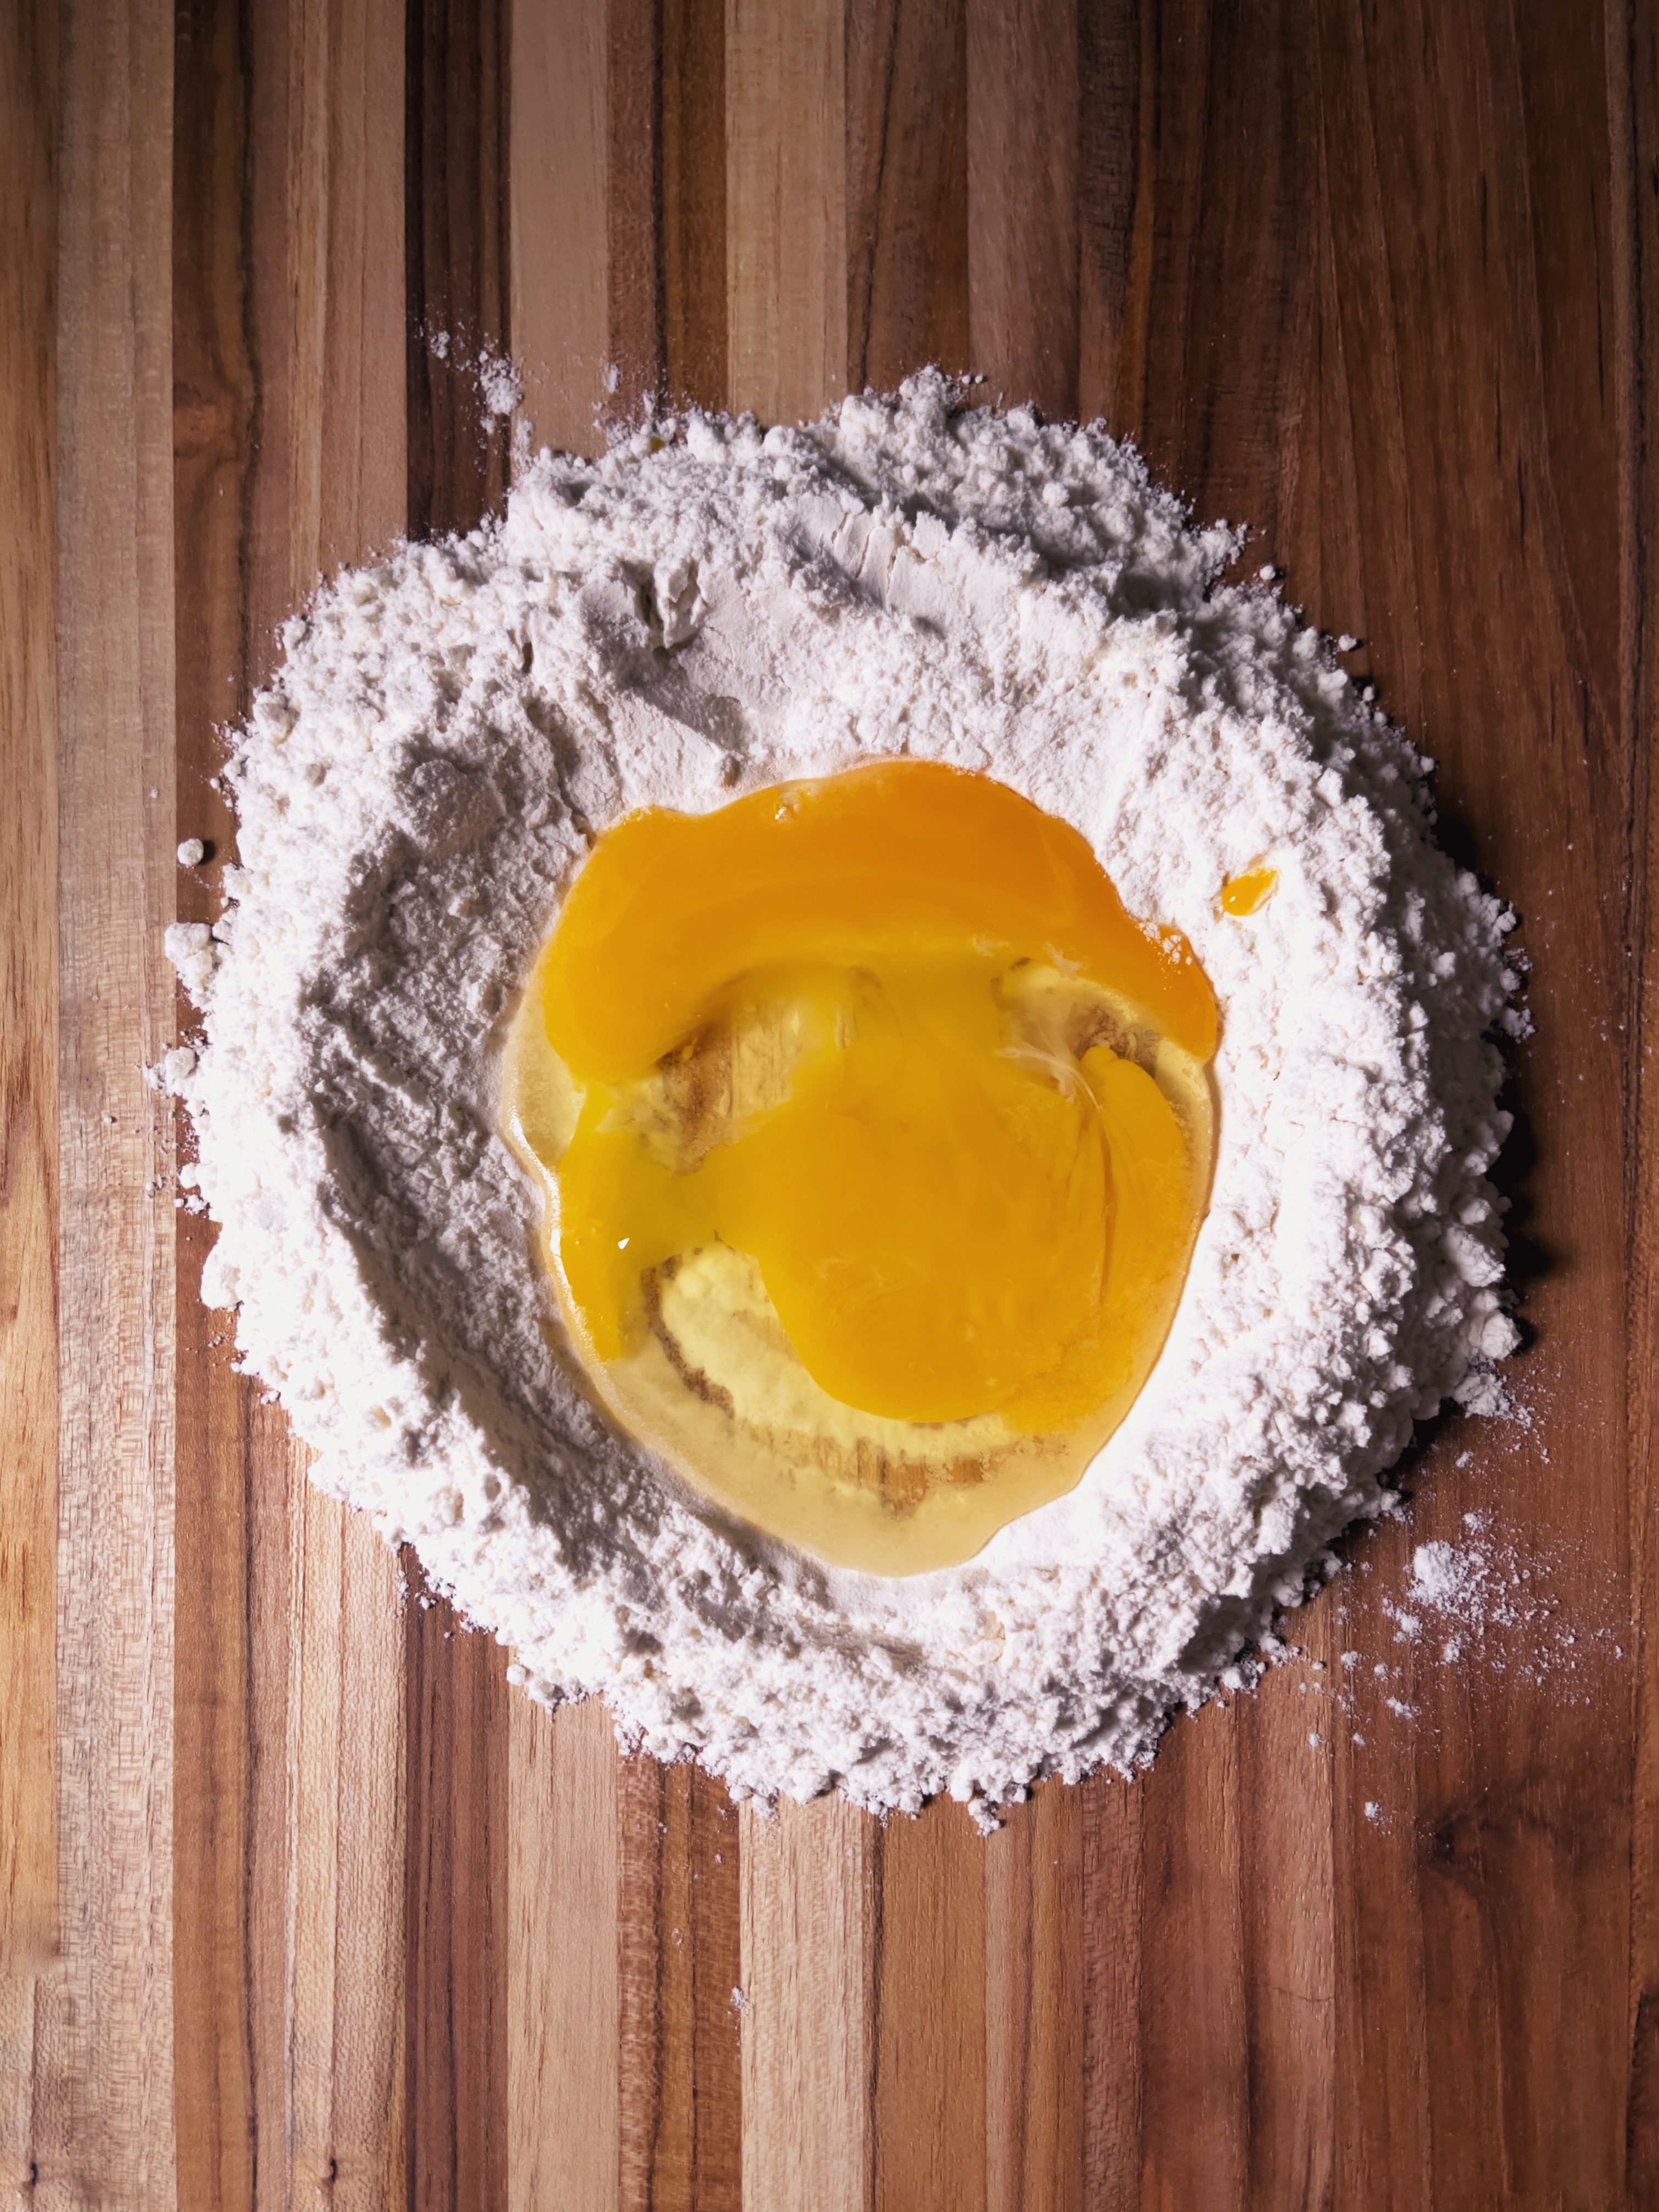
- Add the eggs and olive oil into the hole/well you have created.
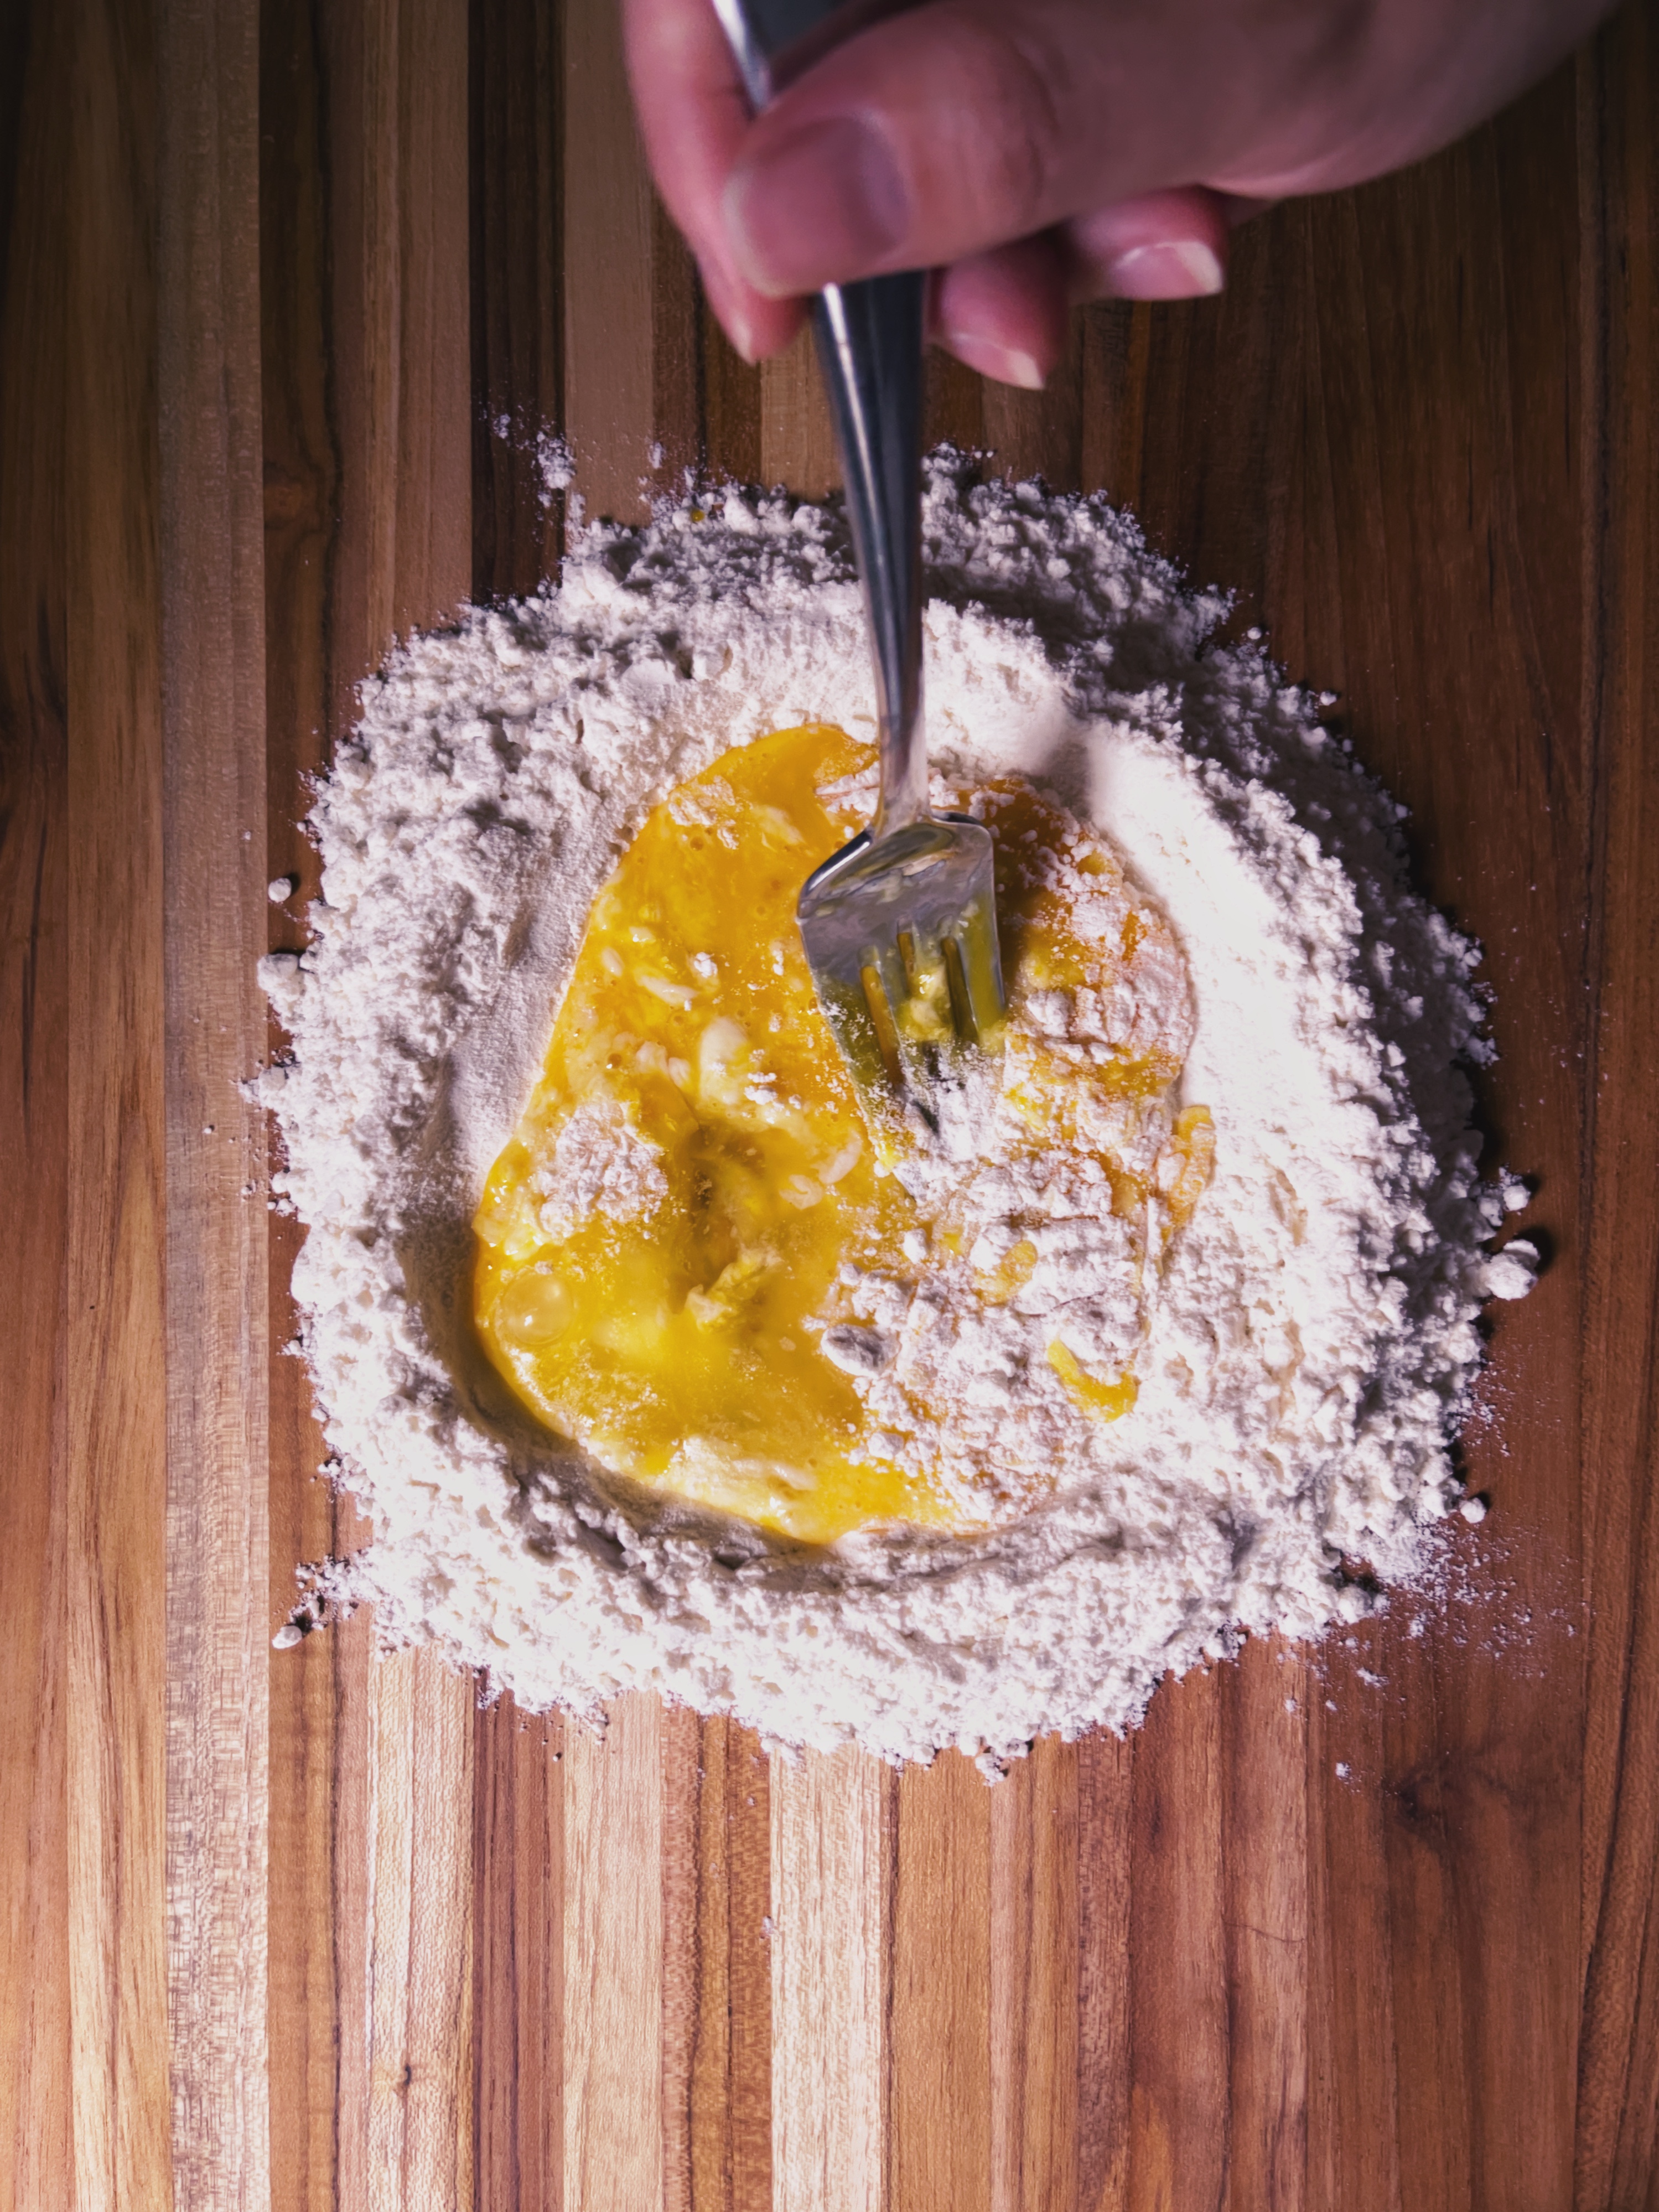
- With a fork, start to break up the yolks. Continue to whisk with the fork, working to combine the eggs and the flour, slowing incorporating a little bit of flour at a time from the inside rim of the well.
- Once the mixture becomes a thick paste, start incorporating the flour more quickly until it becomes a shaggy dough. At this point, you can abandon the fork and use your hands.
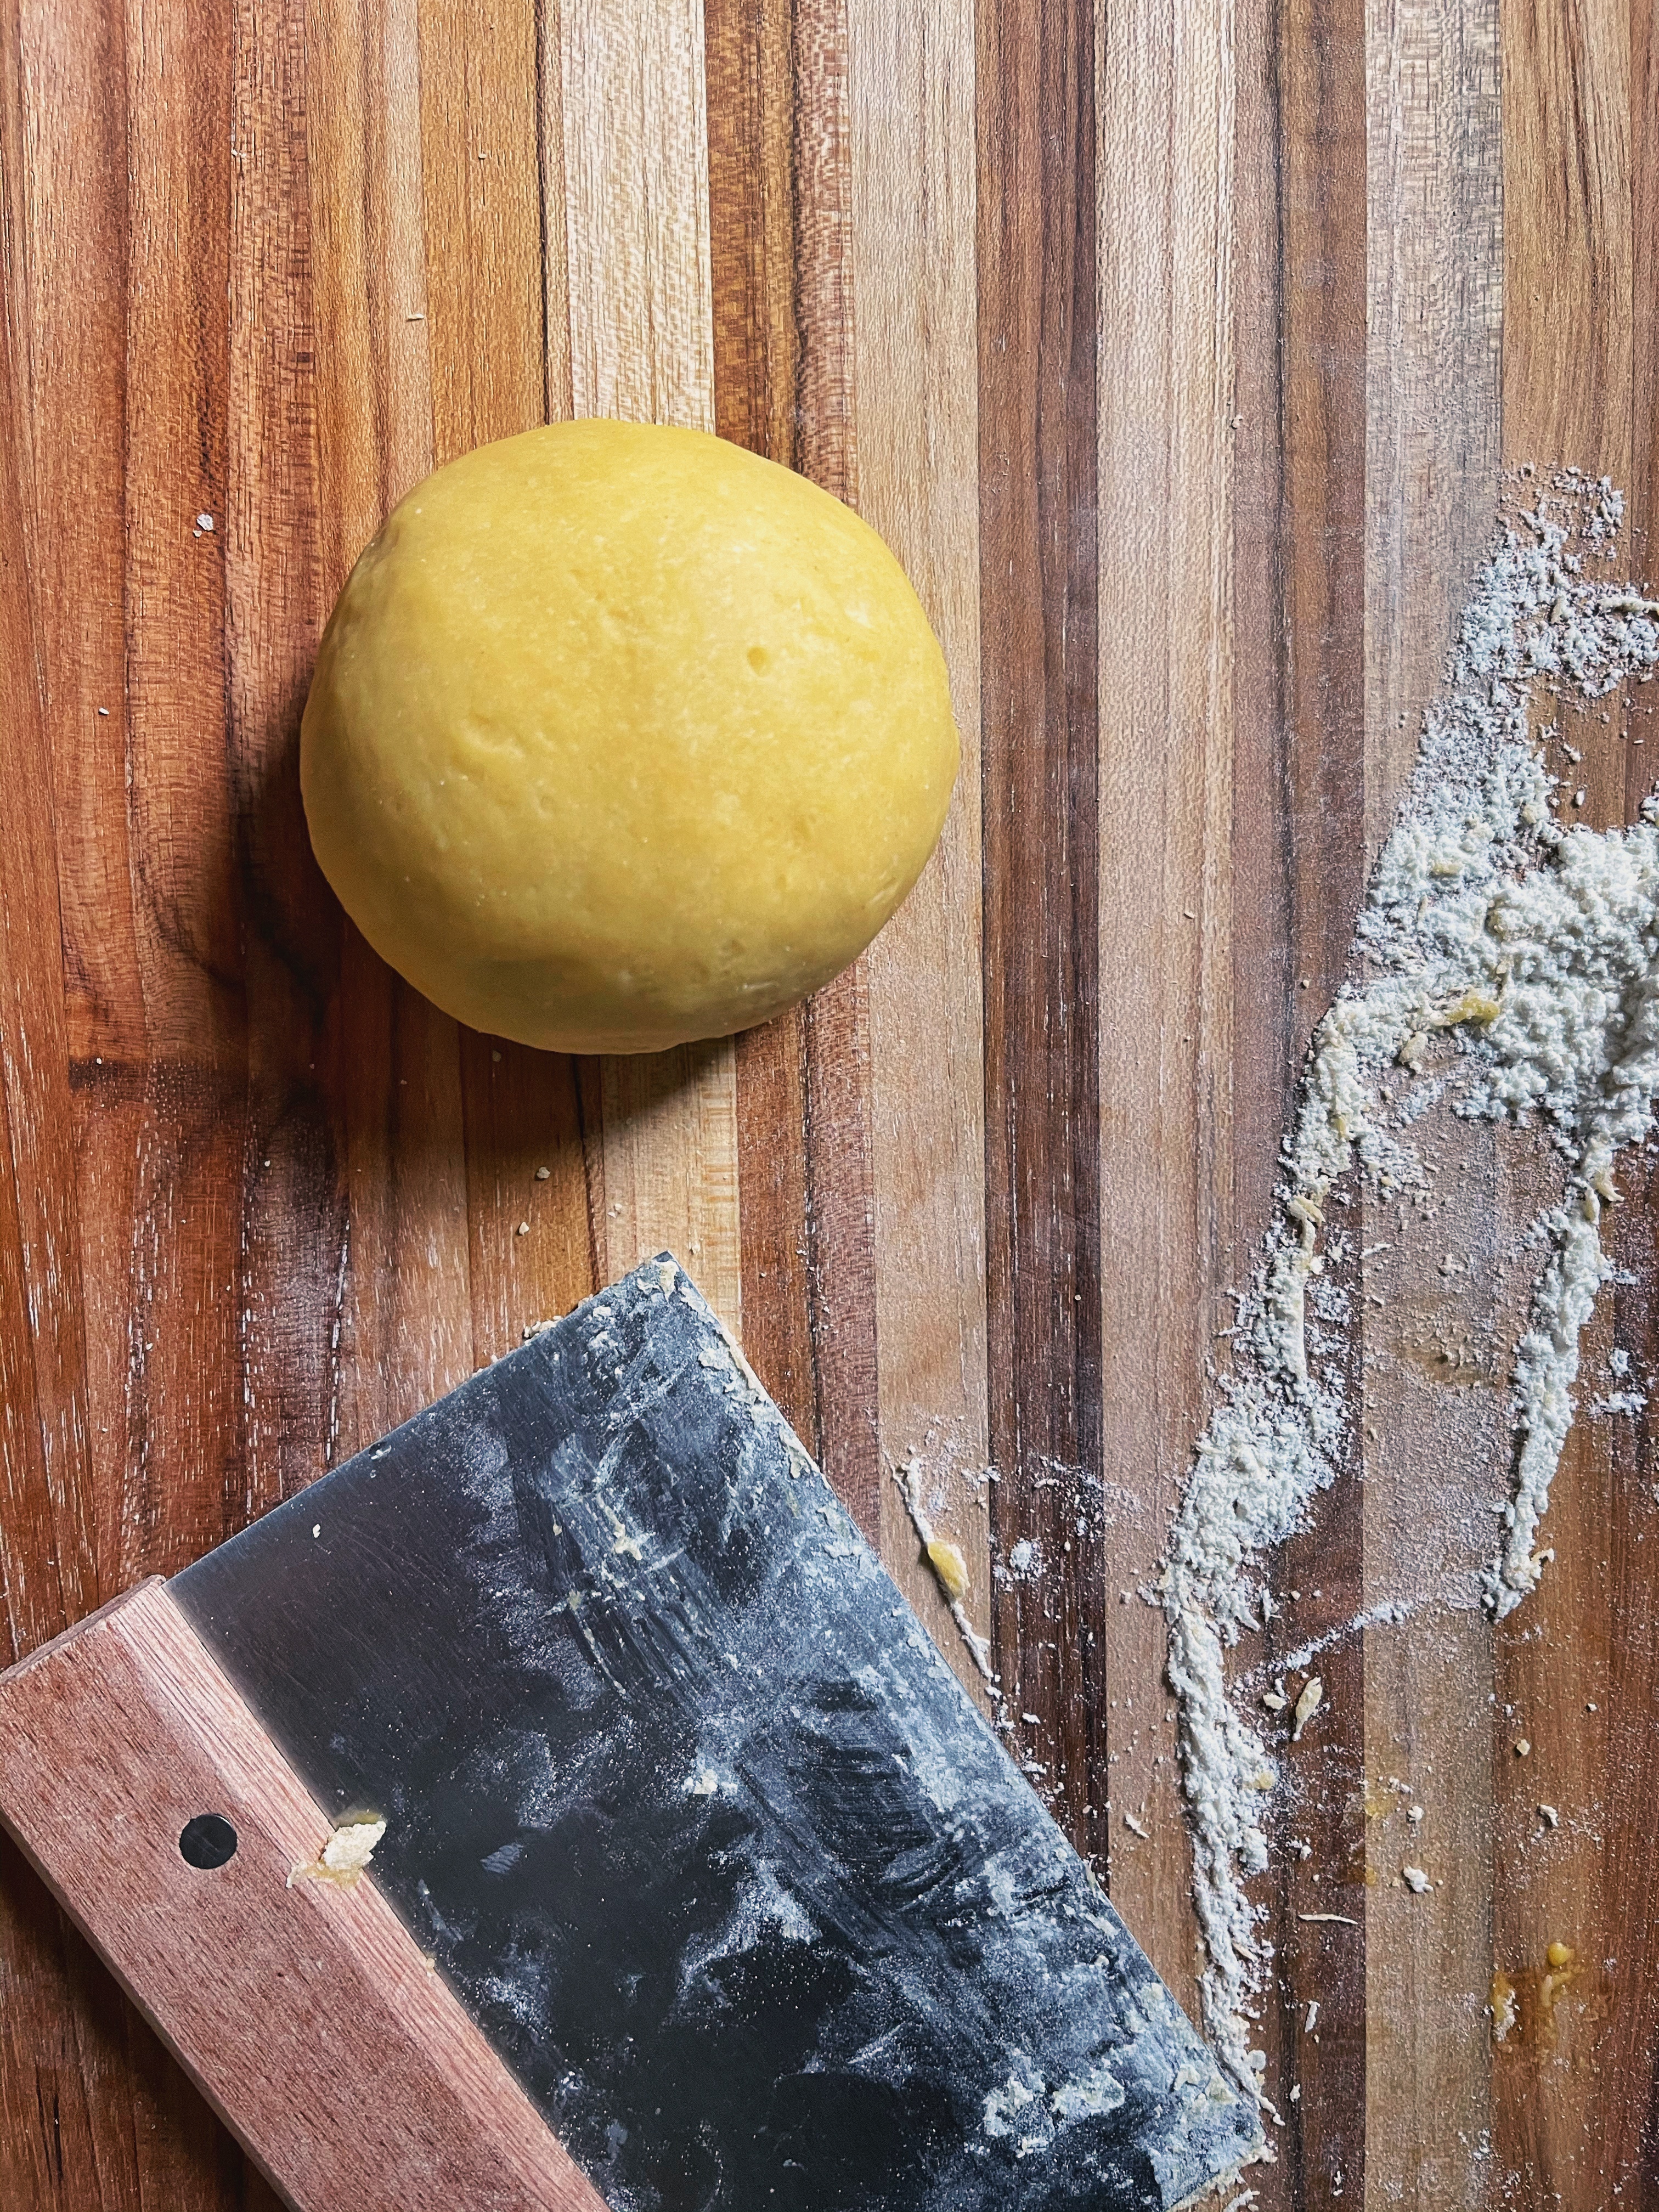
- Continue to knead the dough until it’s evenly combined. You don’t want it to be too dry or too sticky. If it’s too sticky, add a little more flour, a half teaspoon at a time as you knead. If it’s too dry, add a sprinkle of water until it’s the correct texture.
- Knead the dough for 5 minutes until it reaches a playdough-like texture. It should be soft and completely combined.
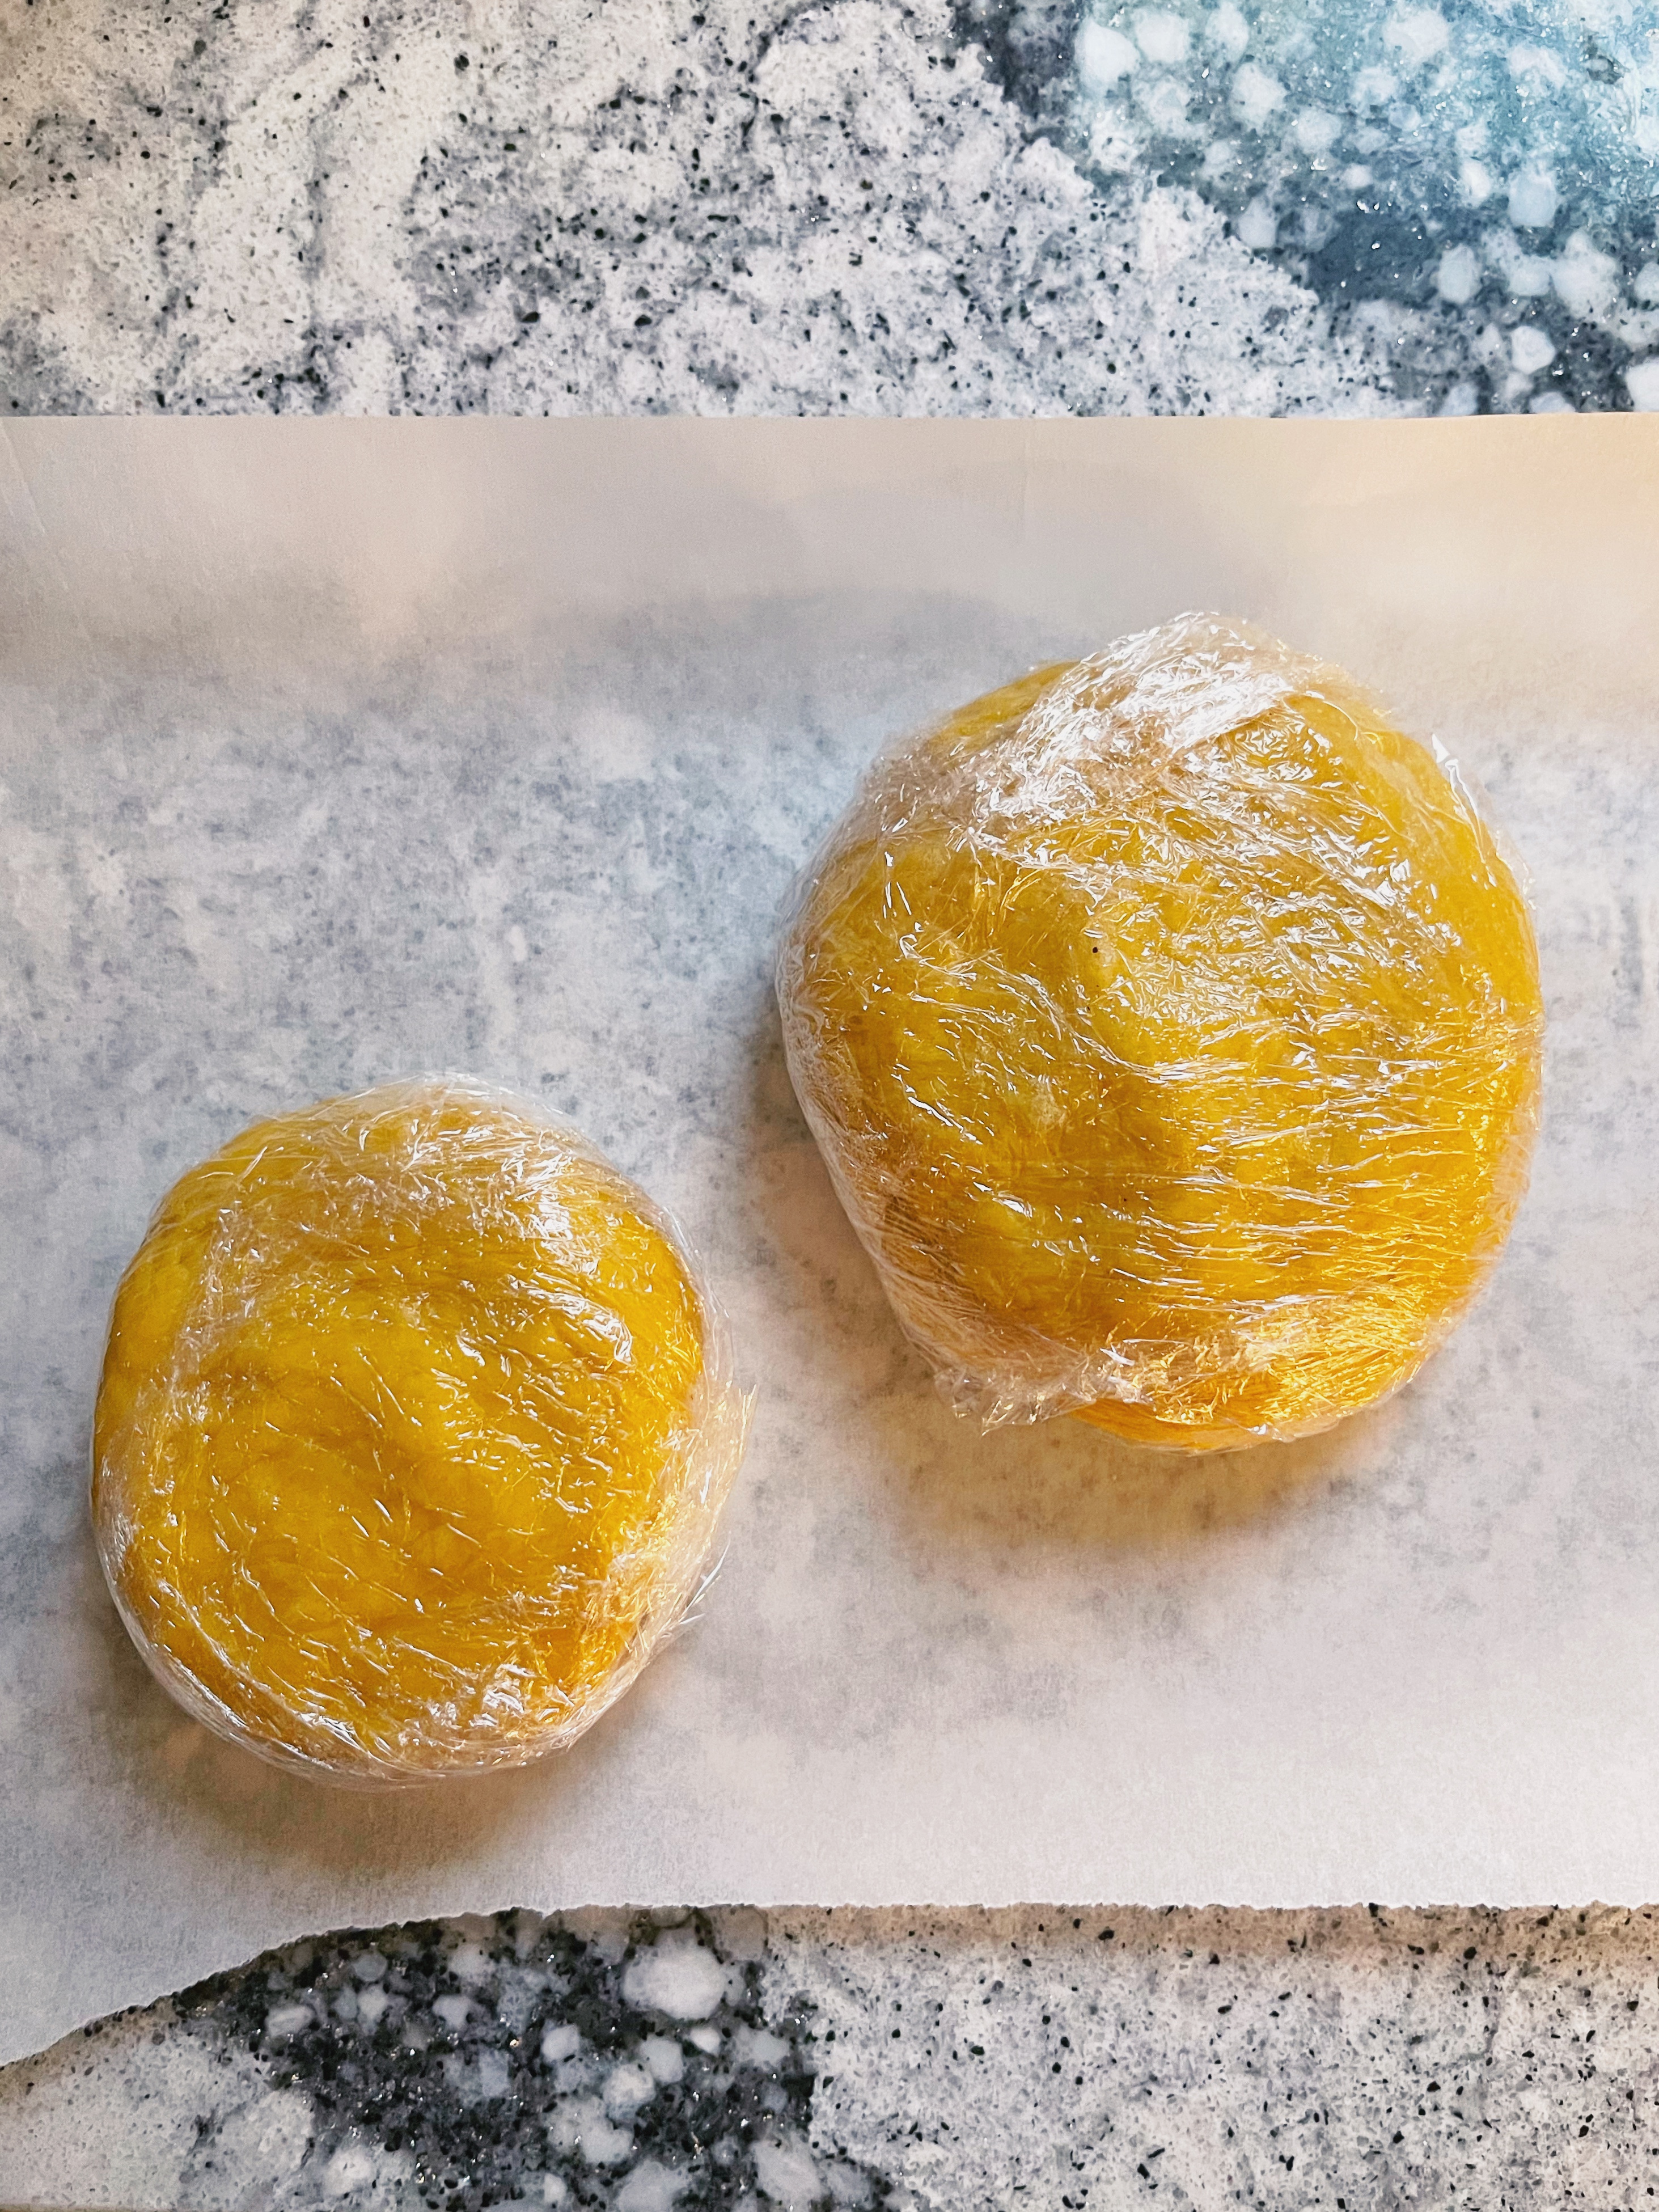
- Shape the dough into a disc and wrap in plastic wrap. Set aside to rest for at least 1 hour and up to 24 hours**.
rolling/shaping
- Cut the disc of dough into quarters. Work with one quarter at a time so it’s manageable. Cover the remaining pieces of dough while you are not working with them so they do not dry out.
- Take one quarter and flatten it slightly with the palm of your hand.
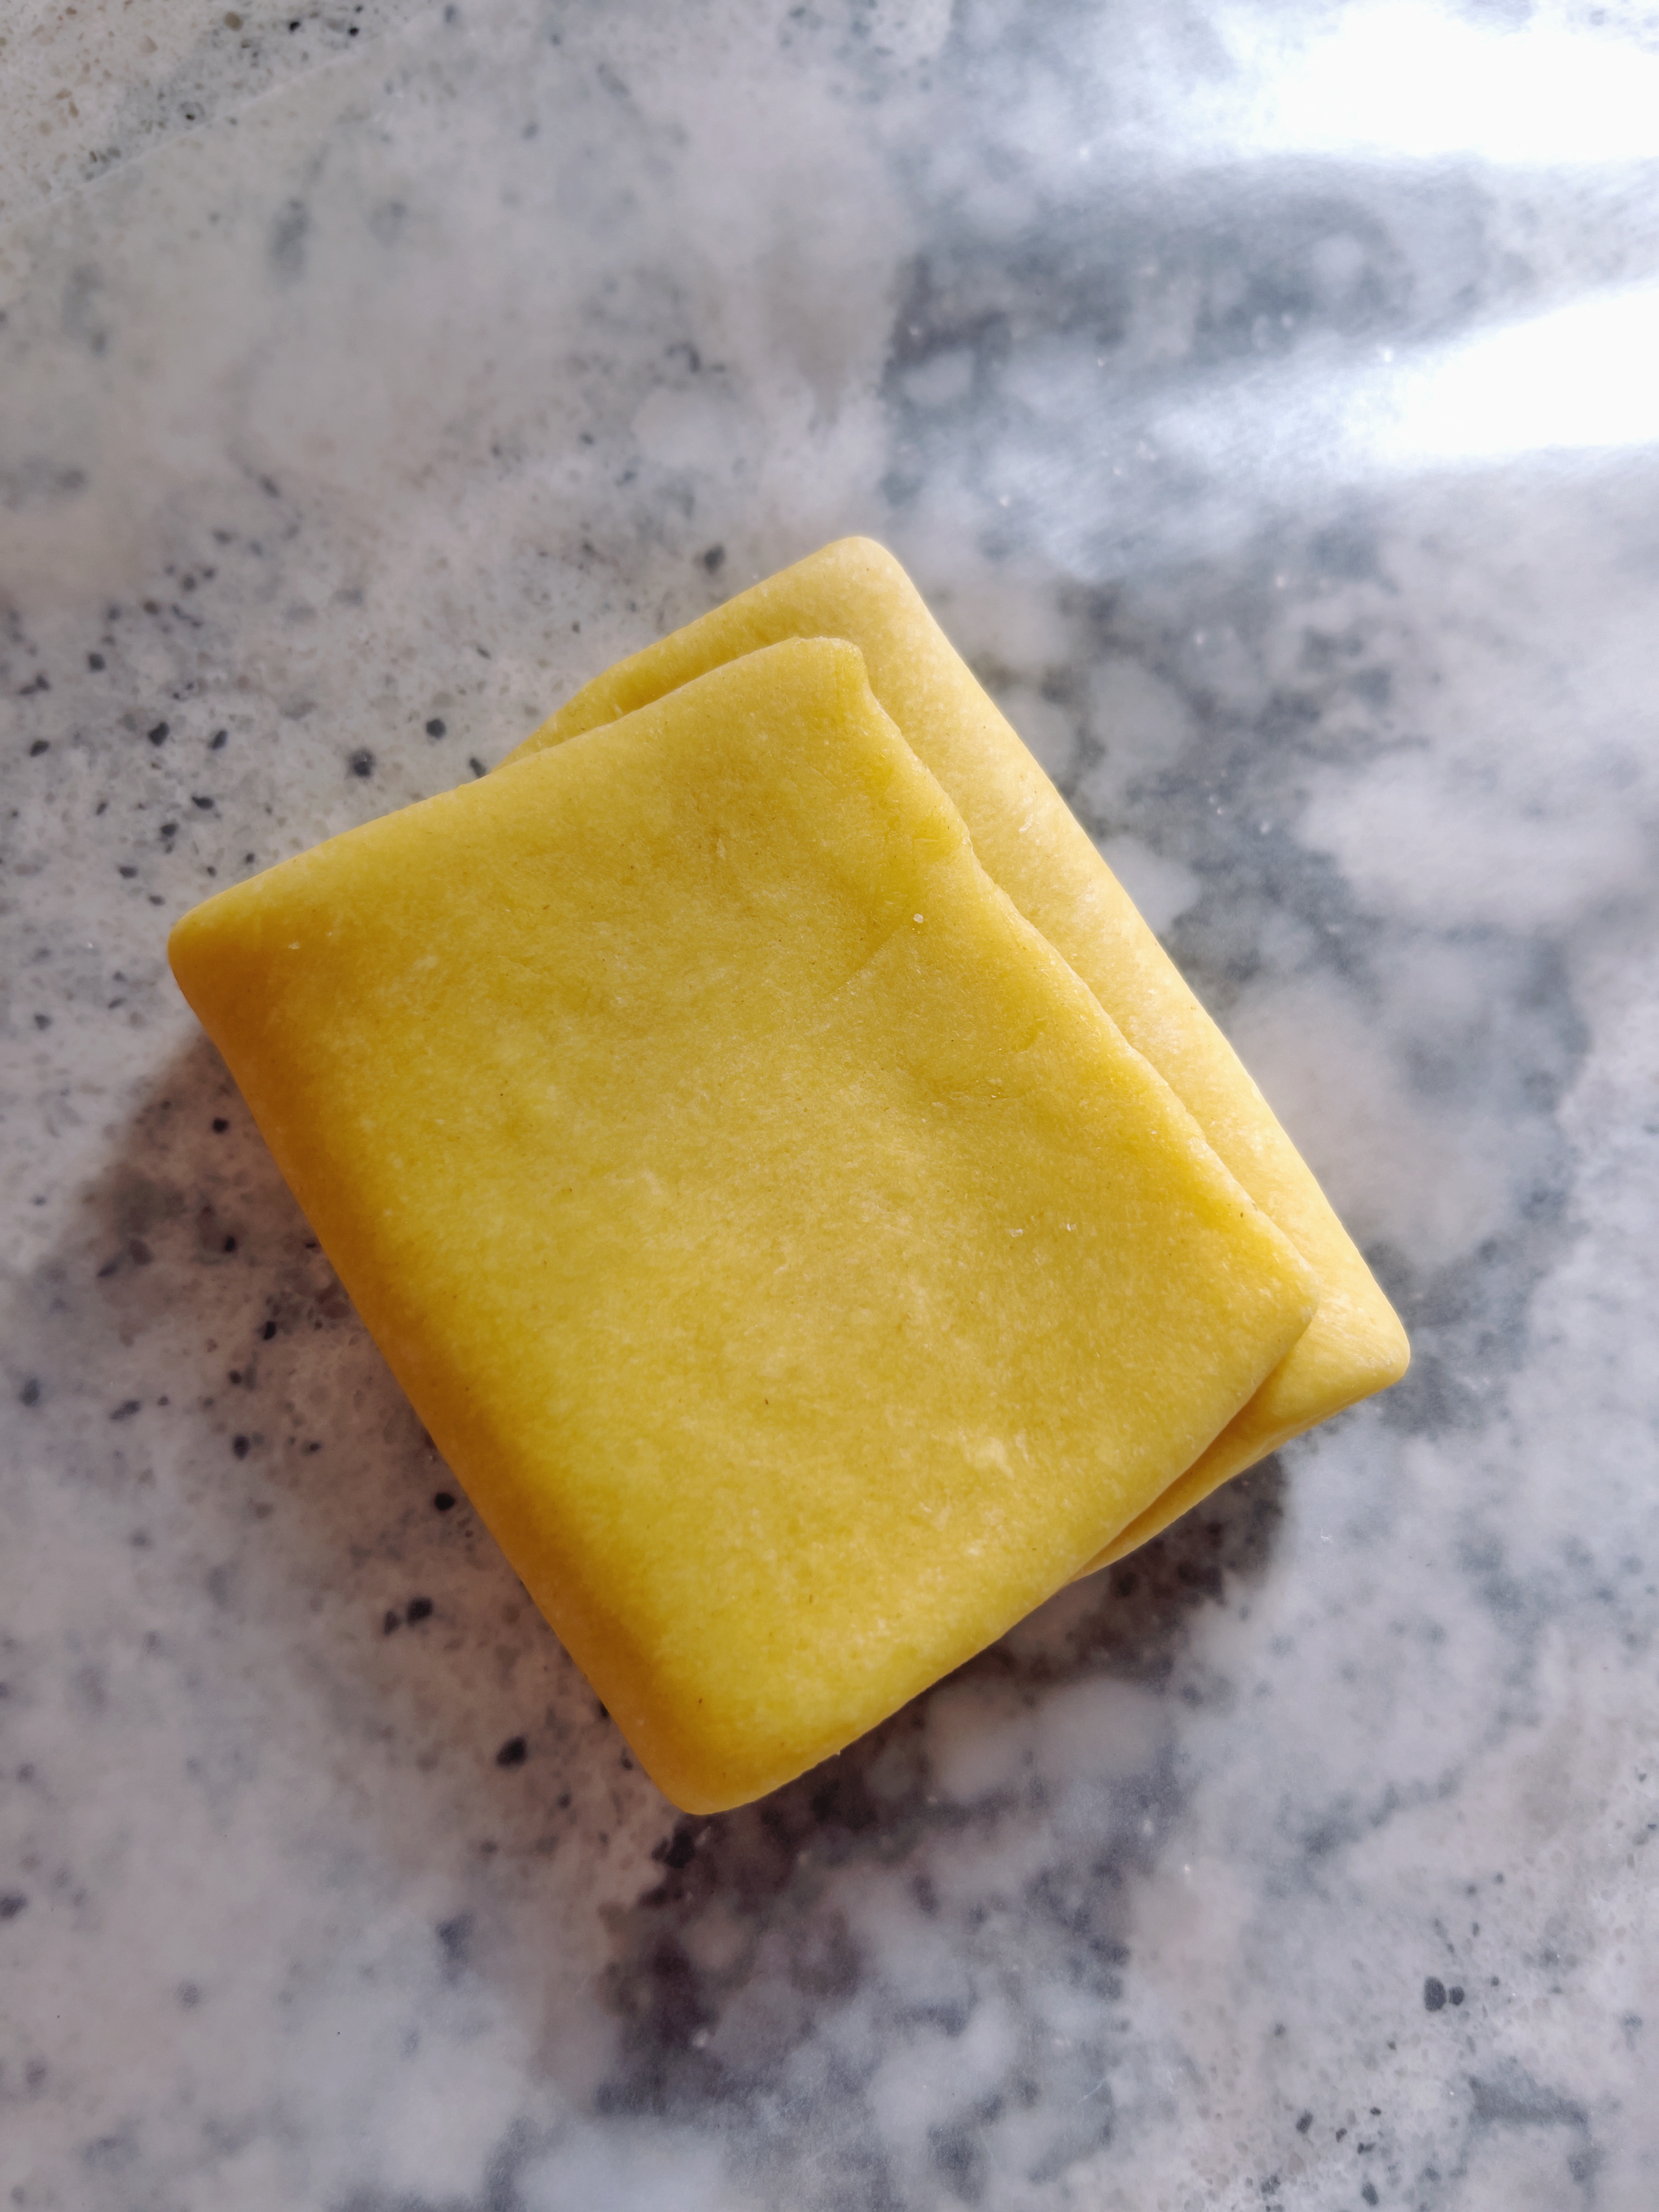
- If you have a pasta roller, start at the widest setting and roll the dough through. Do a “letter fold” by folding one-third into the center and then the other third on top. Flatten slightly with the palm of your hand and roll it through the largest setting one more time.
- Adjust the pasta roller to the next smallest setting and roll the pasta through once.
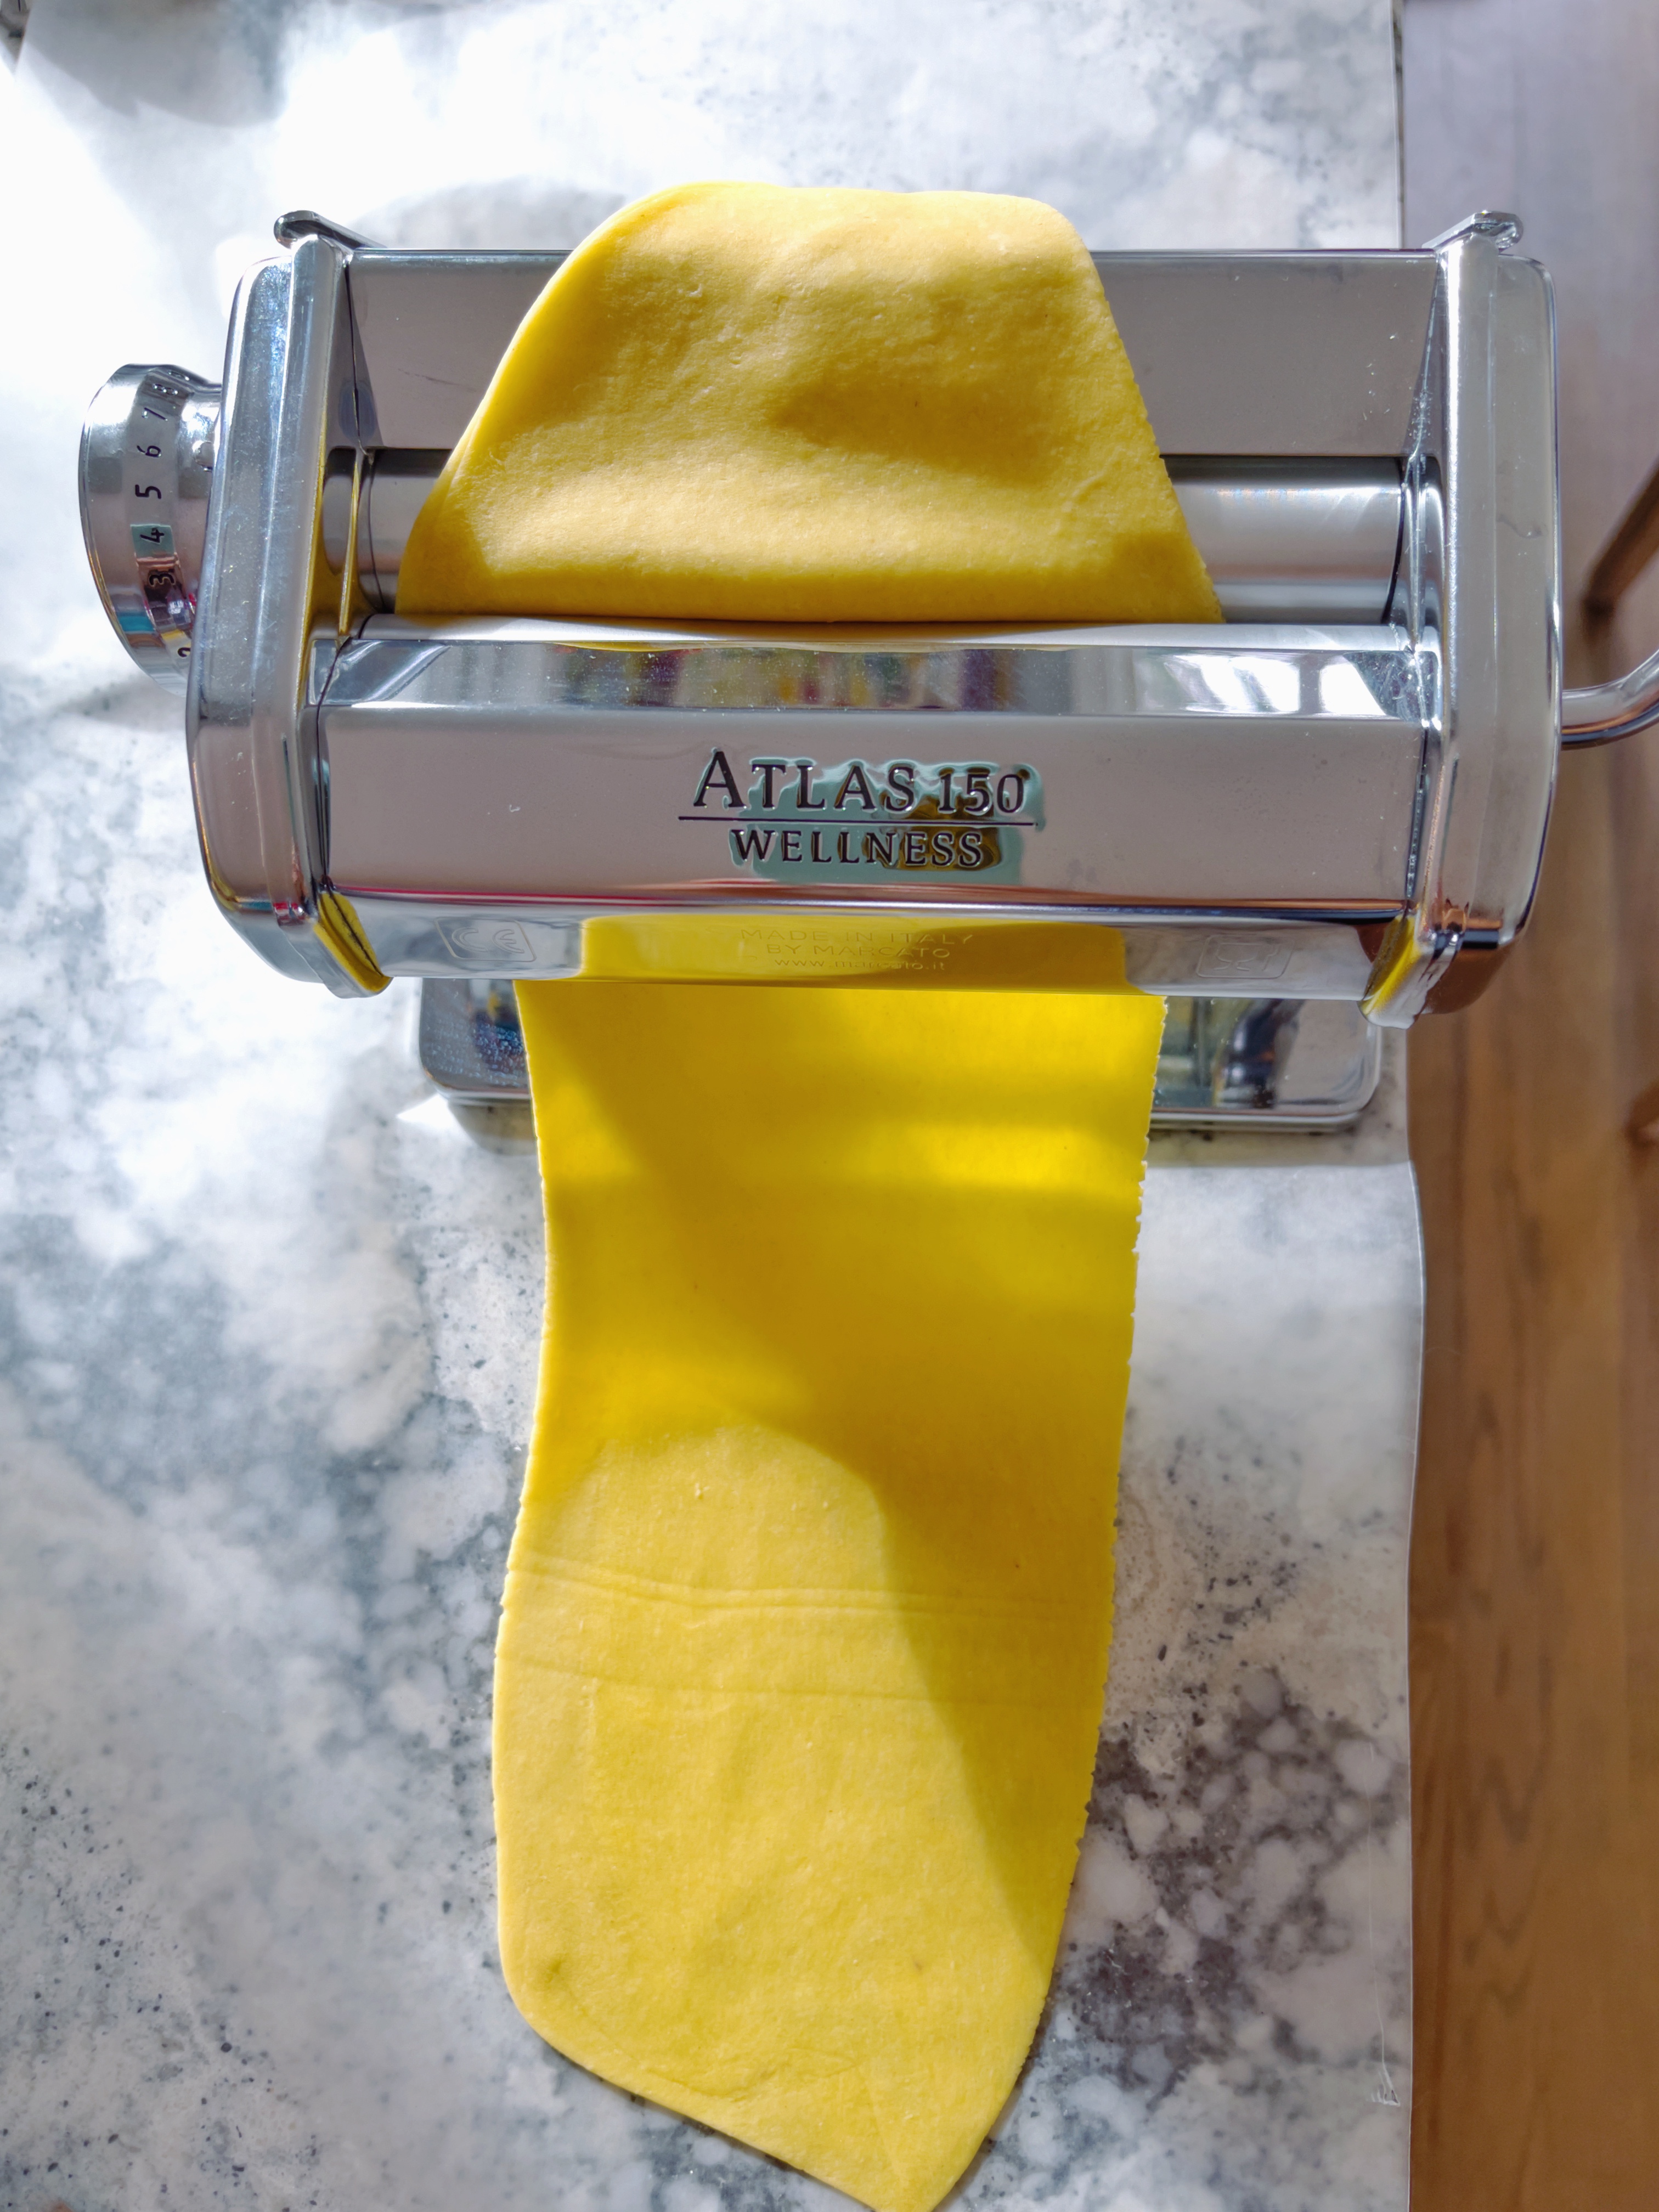
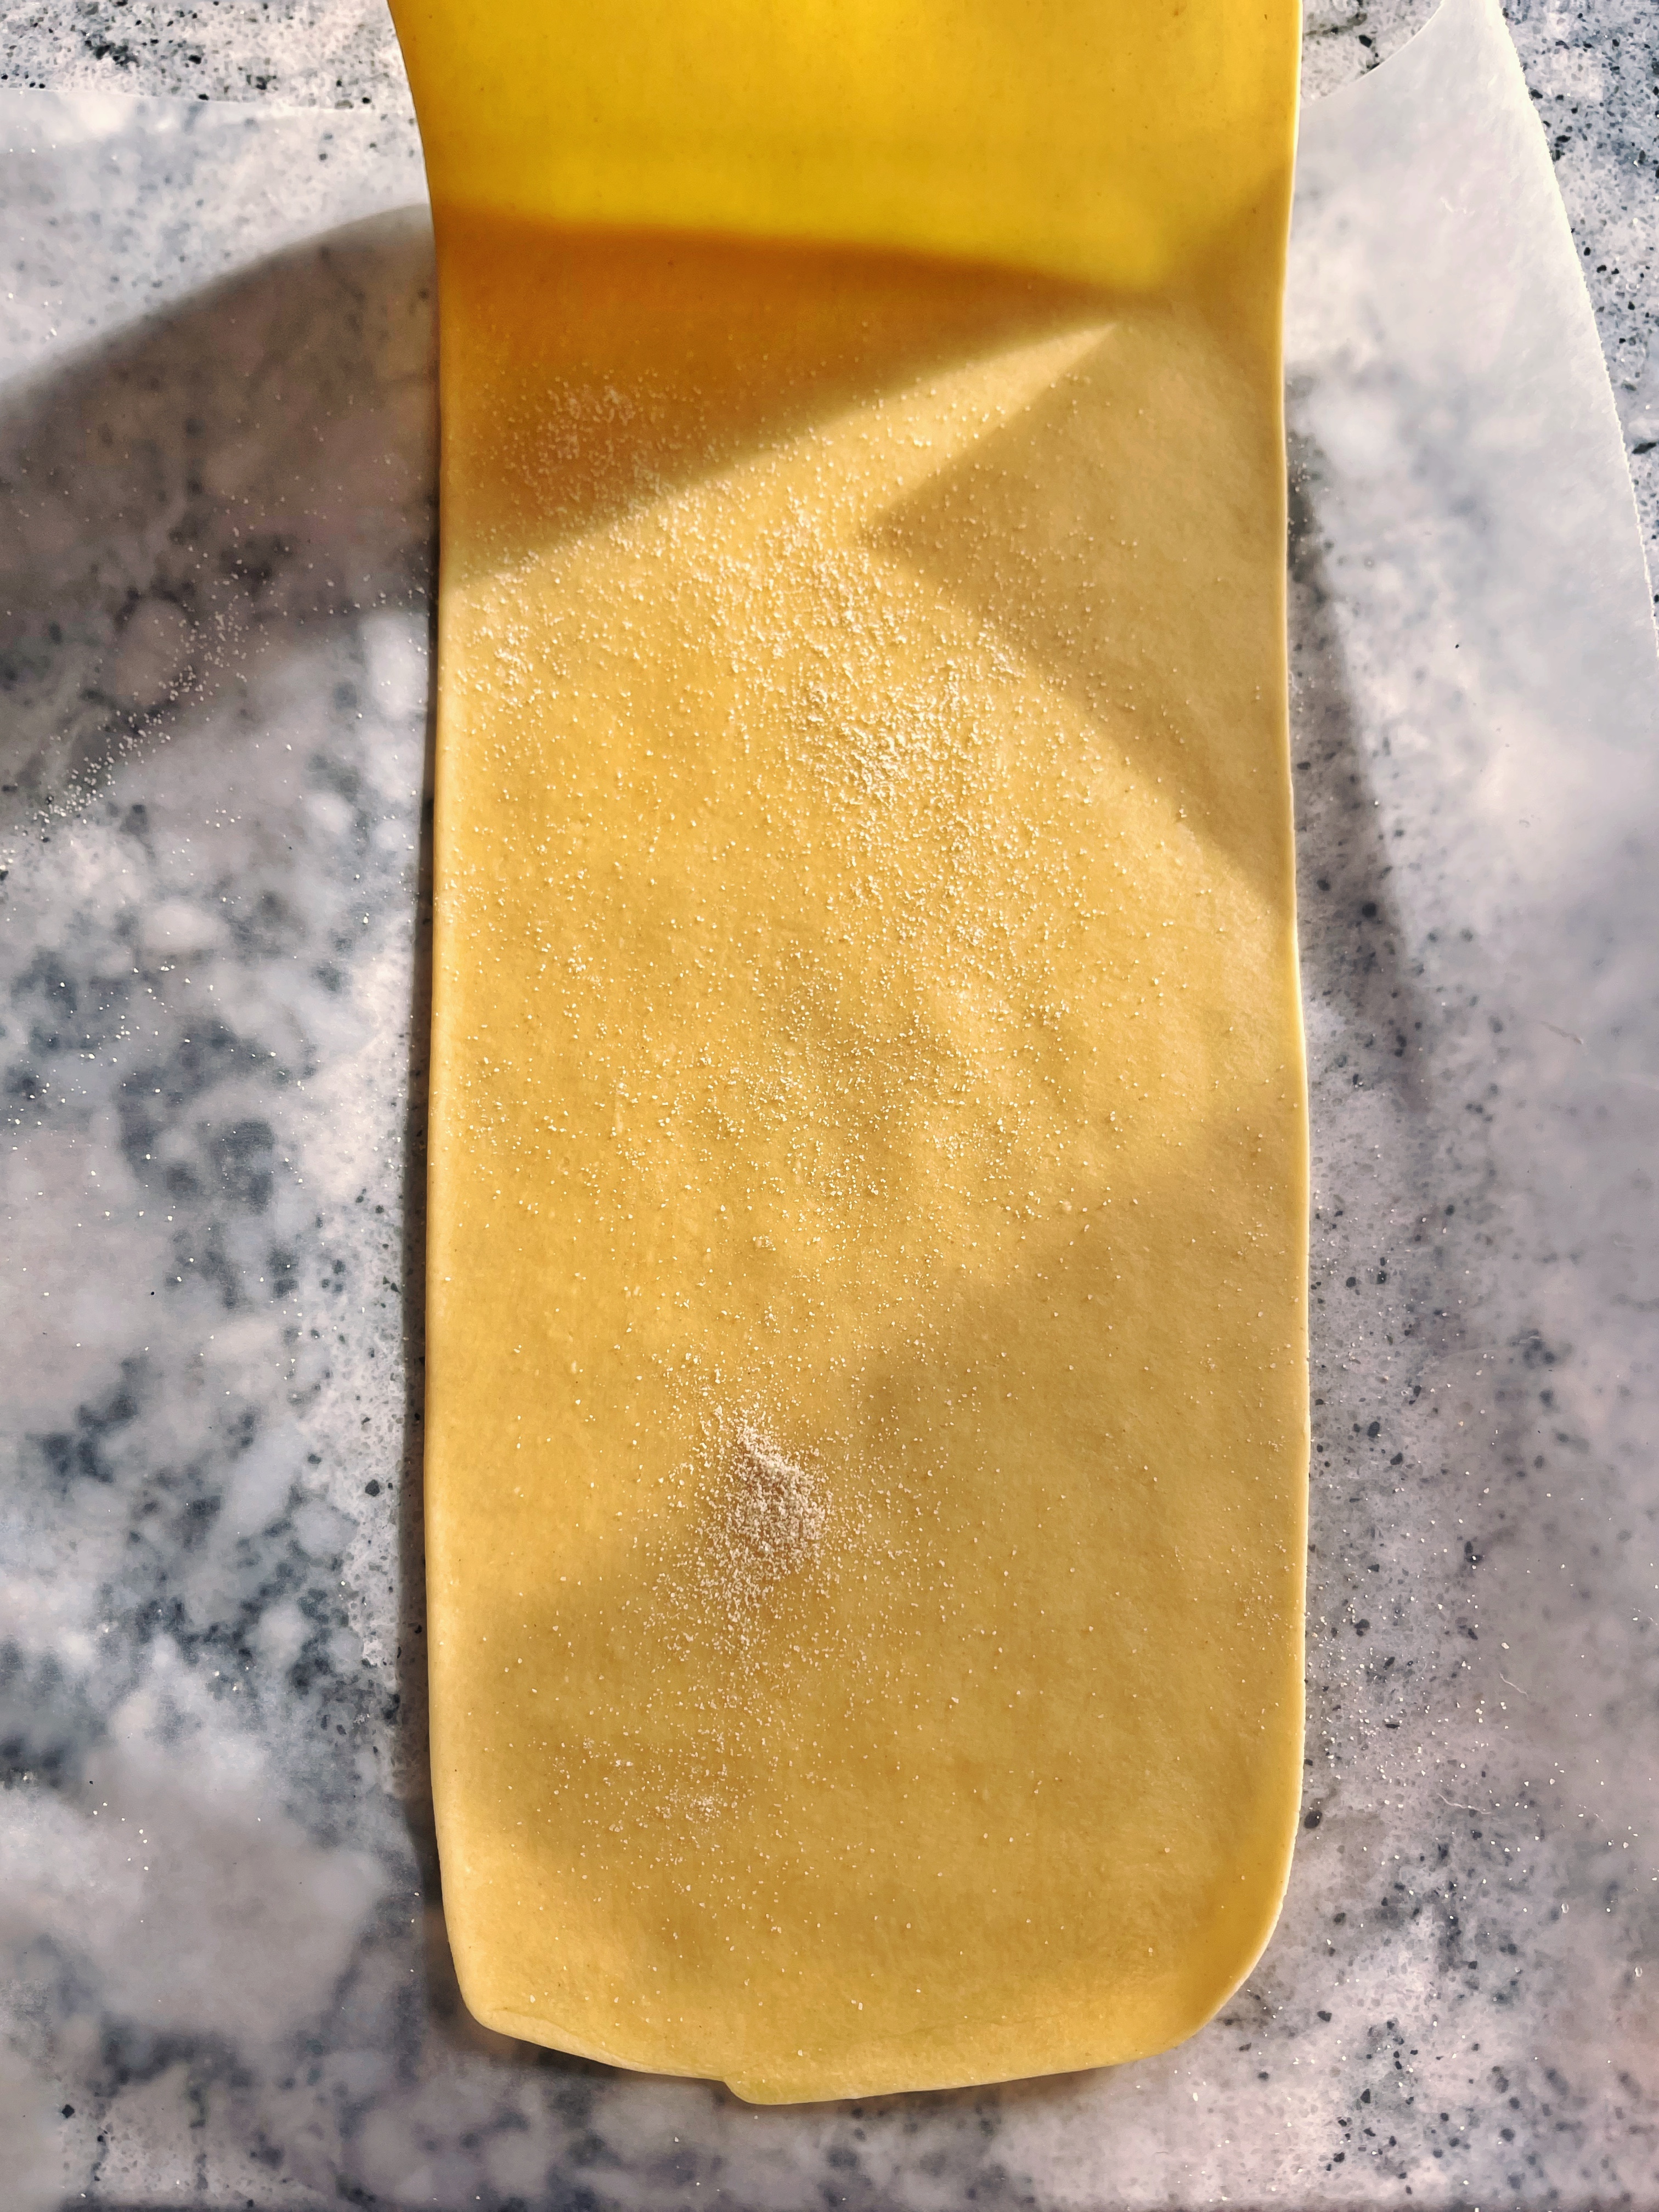
- Continue rolling the dough through the pasta roller, going through each setting, changing the setting to be progressively smaller each time. As the setting gets smaller, the sheet of pasta will get thinner and will become longer. If the sheet of pasta becomes too sticky, dust with a little bit of “00” flour.
- Roll until you reach the desired thickness**. If you don’t have a pasta roller, using a rolling pin, roll the pasta until it reaches the desired thickness.
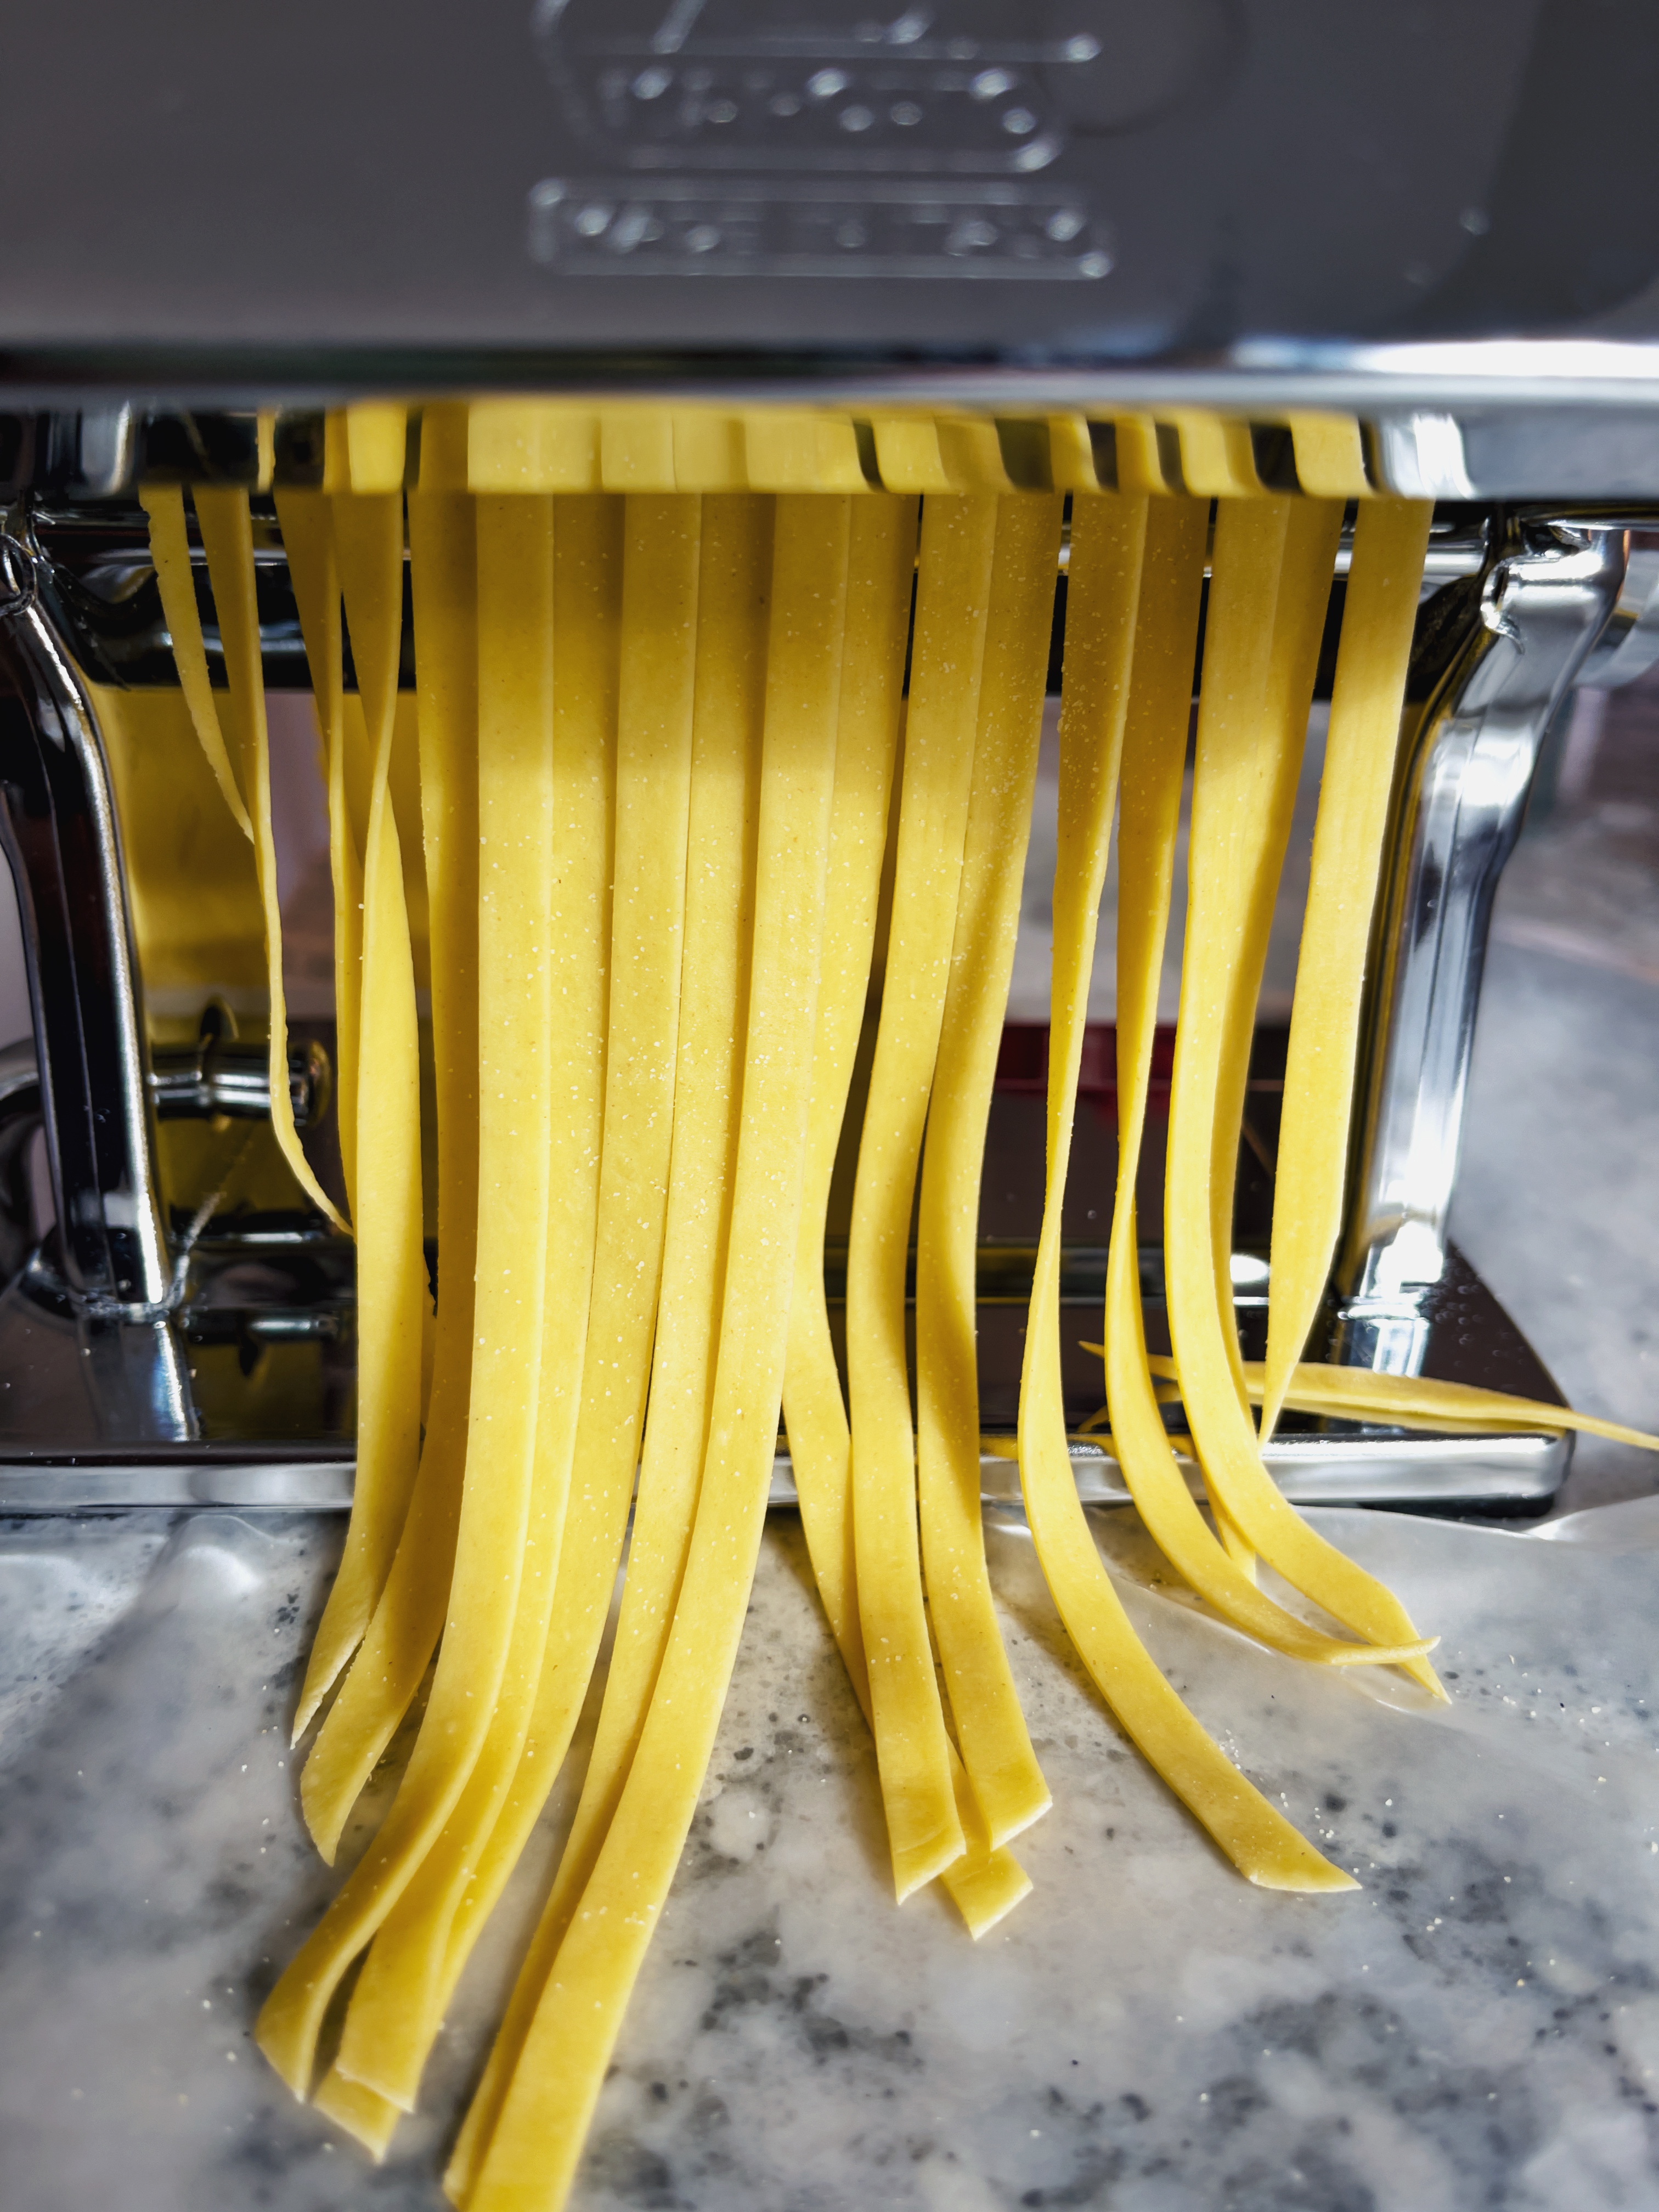
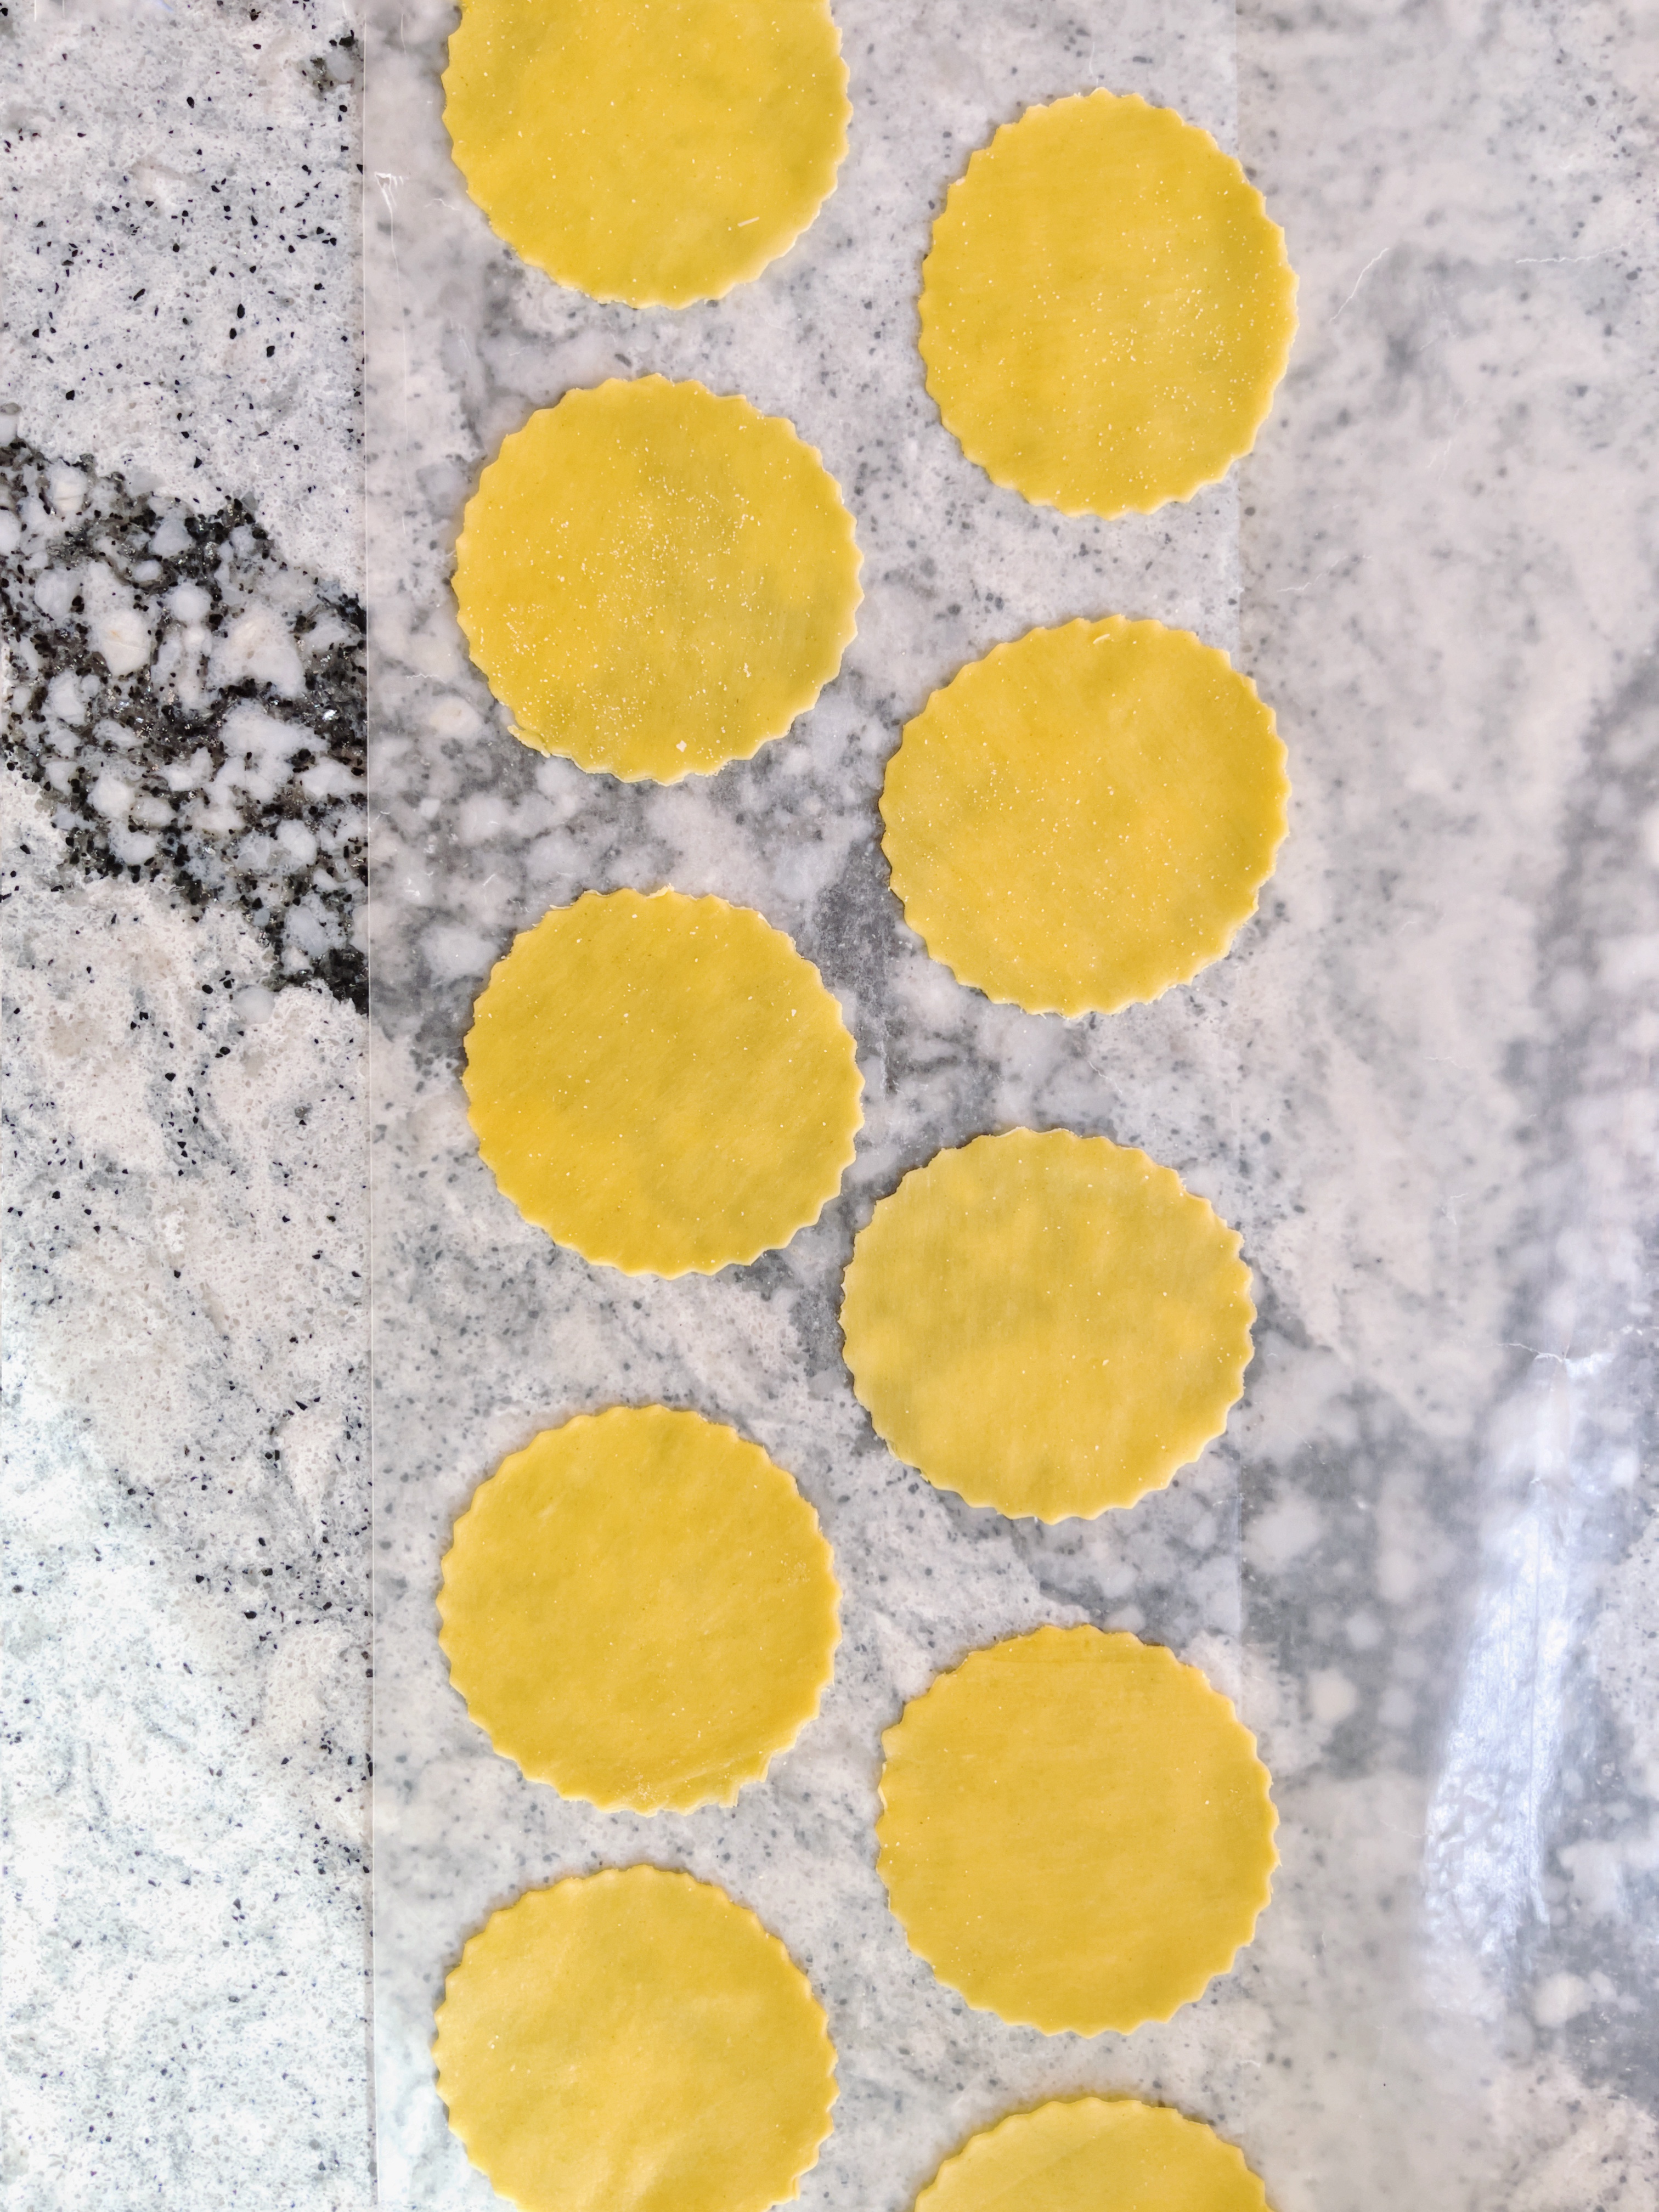
- By hand or using a pasta cutter attachment, cut the pasta sheet into the desired shape.
- To prevent cut noodles or pasta sheet from sticking together, I recommend tossing or sprinkling them with semolina flour or “00” flour.
- Repeat steps 2-8 until all of the dough has been rolled out, cut and/or shaped. Continue with your pasta recipe preparation or place in the freezer and freeze until solid before placing the pasta in an air tight container/bag.
notes
- If you are leaving it to rest overnight, place in the refrigerator.
- I use an Atlas pasta roller. For fettuccine, I recommend setting 6 and for filled pastas (i.e., tortellini, ravioli), I recommend setting 7.
yields
2-4 servings (depending on if it’s used as an entree or a side dish)


This tutorial of making pasta is really helpful to moms like me. Finally now I can make pasta for my daughter after her long time request. Keep sharing such helpful posts with the readers.